Tag Archives: Game

99. Factor Races

I rather like teaching prime factor decomposition as you can assess lots of numerical skills within the topic. I can easily cover:
*Division
*Tests of divisibility
*Multiplication
*Quick recall of multiplication facts
*Prime numbers
*Factor/Multiple misconceptions
*Powers & Index notation
*Venn diagrams*
*Products
*HCF & LCM¤
*Vocabulary related to all the above

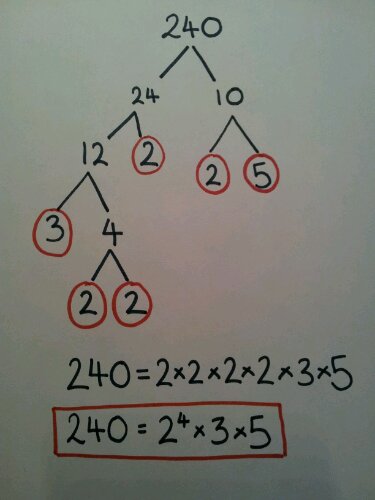
Many people already use prime factor trees to teach this topic, but if you are unfamilar with them here is a quick summary:

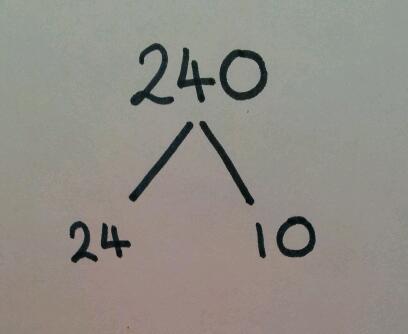
Find two numbers that multiply to give the top number.

image

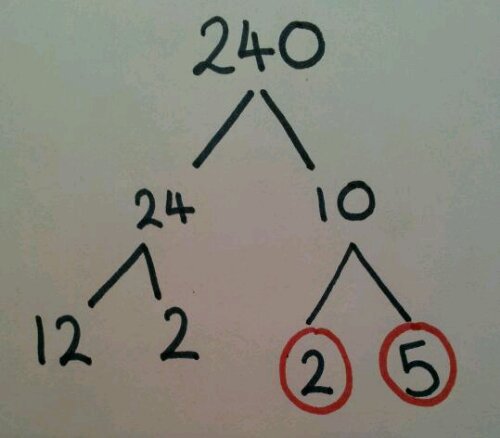
Repeat for each branch, circling the prime numbers. These are like the fruit on the end of the branch.

image

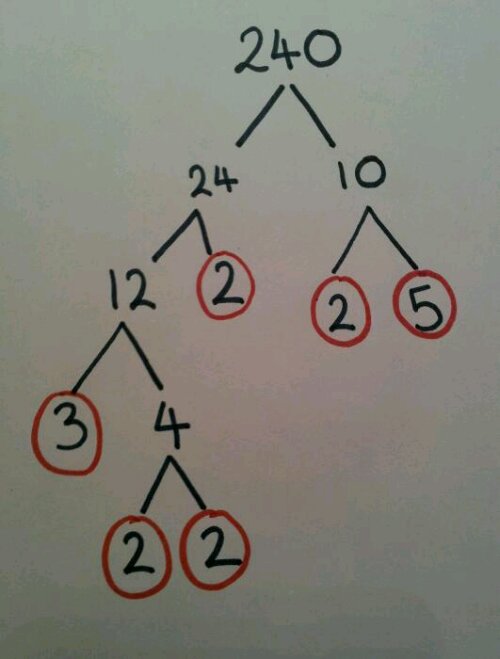
Repeat until every branch has ‘fruit’ at the end.

image

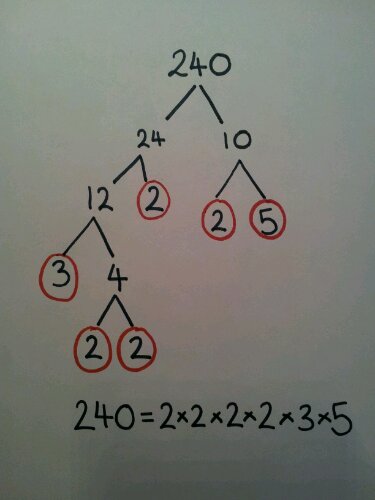
Write out the factors, in numerical order, as a multiplication.

image

Collect like factors into index notation.

image

And that’s how to make a prime factor decomposition tree.

The Race
You will need as many pupils as you can standing at your board, all equipped with a whiteboard pen. Depending on which room I am in, I get about 10 pupils out.

Their team mates sit near them – it is up to you as to whether calculators are allowed. Only the person at the board can write.

You call out a number and every team must work out the prime factor decomposition on the board. The winning team is the first to write the number as a product of prime factors.

Teaching Point
Once everyone has completed the task, leave the calculations on the board. You can now ask for comments and corrections. The class should notice that even though the number was split up differently, they all got the same answer. If they didn’t, the class can check for errors.

I like to use this as a plenary or a recap starter. It effectively demonstrates that even though your brain chose to breakdown the calculation differently, you are still correct. This can be a confidence boost to those pupils who think there is only one possible method and don’t ‘get’ that method. Maths is about the strategies and skills to solve problems, not just one approved technique.

¤ To be covered in the next blog post

88. Factor (Nasty) Game

Today, it’s a classic maths game which has been passed around for at least 12 years, if not longer. It develops basic number skills such as multiplication, division, factors, primes, squares and place value.

image

Equipment
A whiteboard (or wall or floor)
Ten digit cards (0-9): you could also just write the digits, but cards are more fun/tactile.
Blu-tak
Mini-whiteboards (or paper)
Calculators are optional

Before you start
You need between 2 and 5 teams. Five gives you more tension/excitement.

Each team needs a whiteboard.
Indicate on the board where each team puts their cards. They need tens and units columns.

Blu tak the number cards to the board.

Basic game
Each team takes it in turn to pick a card and place it in one of their columns. This is repeated so that every team has a two digit number. If you have five teams, there will be no leftover digits.

Winners
The winning team is the one whose number had the most factors. It is up to the teams to prove this by giving all the calculations of factors. Other teams may challenge their accuracy. You can also discuss why some numbers have an odd number of factors (eg square numbers) or exactly two factors (prime numbers).

Time to get Nasty
I said this game was called Factor Nasty … and it is.

There is only one change to the game rules: you can pick a digit and put it in any team’s answer box. They can use their number skills to really stitch each other up.

Imagine Team A puts a 0 in Team C’s tens column. Then Team B puts a 3 in Team C’s units column. Team C can’t do anything to improve their number, but they can make life tricky for Team A and B. Meanwhile, Teams D and E ignore them and create really good answers.

Have fun trying this as a starter or plenary!

70. Low Tech Hi Tech

In earlier posts I’ve mentioned team challenges and relays.

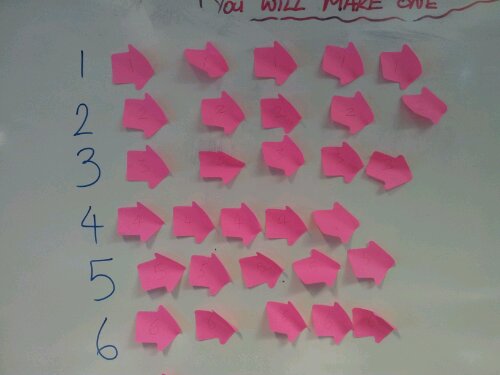
There are two ways to record the results.

Low Tech

image

Everytime a pupil team gets an answer correct give them a post-it note. I put team numbers on the notes to avoid cheating. They are responsible for sticking their note in the correct place.

Note: some brands of sticky note don’t stick to whiteboards that well, so you may want to use a table.

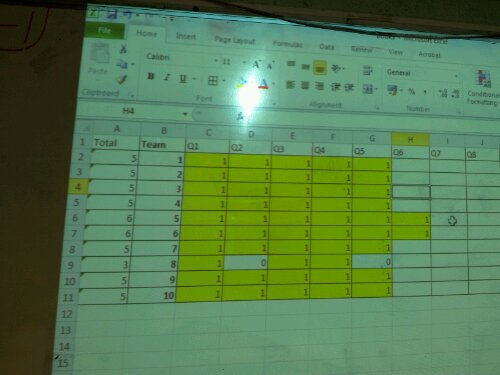
Hi Tech
image

When a team get a question correct they put a 1 in a box on a spreadsheet. Conditional formatting allows you to highlight correct answers. In the picture, the first column is the total for each team so they can see who is in the lead. You can also set it up to highlight the current leaders. This method also allows you to quickly identify problem areas.

68. Another GCSE revision idea

You will be surprised to hear that this activity doesn’t involve cutting up a GCSE paper! See Foundation GCSE student review and How to make GCSE past papers fun.

Equipment
Digital version of a GCSE (or A-Level or Functional Skills) paper
Individual whiteboards & pens
Digital projector

Set up
Split the class into groups of 4-6. They will need a whiteboard each. Allocate a team number/letter or name. Project the first question on the screen.

Activity
Use the GCSE paper to set (part of) a question for the class.
They all answer on their whiteboards and hold up the answer when you say.

The beauty of this method is you can adapt the questions to the understanding of the class and focus on specific skills, as opposed to issuing a paper version and going through every question.

Scoring
It’s quite common for a few bright/strong characters to take over team games, unless you can find a way to avoid this. The scoring is quite easy.

2 points if every member of the group gets the answer right.

1 point for each team, if more than one team is 100% correct.

You may think that this will encourage copying, but there is a third score:

-1 point if you can’t explain your answer

This means teams must work together to ensure everyone understands the solution. After all, these are exam questions which may take several minutes to complete. There is little value in using this as a revision tool if pupils don’t progress – which is where the peer explanation comes in.

Review
My class really enjoyed doing this on Friday as preparation for their end of year eams. It allowed me to pick out the most appropriate revision questions, without running up the photocopying bill!

63. How to make GCSE past papers fun

Well folks, the end is in sight! Soon Y11 will be on study leave. Sure, there will be those conscientious few who come in for help or revision sessions, but the majority of pupils need the next month to considate their learning and be ready for their exams.

Are these teenagers buzzing with energy and keen to work? No.

image

They are tired of being told about exam technique and interpreting questions. They are fed up with assessments and coursework. They are irritable with every non-teenager who mentions exams and ‘this is your future’. And most of all they are just tired because they are working late on deadlines that are suddenly tomorrow, rather than 6 months away.

How can you make yet another GCSE paper interesting?

It’s time to cut up the exam paper (see Foundation GCSE analysis for first scissor session).

Now this task will need some prep work. It is an adaptation of a Maths Relay.

Equipment
*Enough copies of a GCSE paper for 1 between 2 or 3.
(Variation: A set of themed questions, for example 15 questions on Algebra of graduated difficulty)
*Roughly three copies of the mark scheme.
*Your best 3 or 4 students to help manage the task. Alternatively,  mathematically minded sixth former or spare teacher would do. You could even put two classes together.

Optional: A spreadsheet with the pairs of students in the first column

Prep Work
You need to slice the papers into individual questions. Lay out the piles in number order across a desk.
The desks in the room need to be arranged to allow pair/group work and also movement around the room.
Your helpers need to be briefed about the activity.

Activity
Each pair is given the first question face down. When you say ‘Start’, they may write down their names on the question and answer the question.
When they have an answer, they must bring it to be checked.

Correct: it is ticked and they are issued with the next question.
Wrong: it is crossed and they try again.
Wrong twice: they are issued with the next question.

By using your most able student as checkers, you are enabling them to practise effectively checking work quickly and give hints. If they can check their own work in exams quickly, then they will have more time to answer harder questions. By giving hints they are consolidating their learning. Of course, the rest of the class can’t complain that the brightest will win as they are not taking part.

Differentiation
If you have a mixed tier/ability class you can colour code two exam papers: yellow for foundation, pink for higher. They can still race each other but at a more appropriate level.

About that optional spreadsheet
Set up a spreadsheet with the first column for names, the next 15 columns labelled 1-15 and the last column for the total.
Once a question is finished with you record correct/wrong with a 1/0 . You can then keep track of who is on which question with what success rate.

The more ICT-friendly teacher could use conditional formatting to highlight the cells and which team is winning.

Management
I have found it easiest to use helpers for checking and leave the spreadsheet recording to the class teacher. This allows the teacher to oversee and troubleshoot as required.

image

Review
I’ve done this with low-ability Y11 last lesson on a Friday and was stunned at the engagement. Although that might have had something to do with the prize of first choice from a box of fondant fancies …

56. Hundreds game

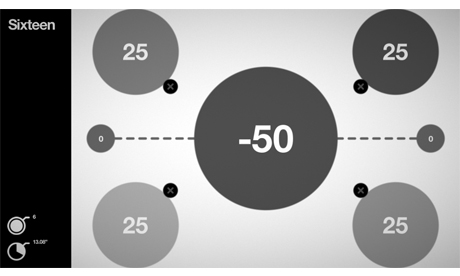
image

I’m loving this simple game for ipads and iphones. All you have to do is make 100 by tapping circles – it’s easy to learn, but every level brings a new challenge. This review on YouTube demonstrates the game:

Hundreds review

My six year old picked up how to play in moments. She commented that it helps her to practise counting and adding. It also increases spatial awareness and moves on to negative numbers.

If you have an ipad in your classroom it would make a nice stand-alone activity; more than one ipad and you could race each other to reach a specified level. If you have ipad/projector connectivity, it could be a whole class starter. Download Hundreds (cost was £2.99 at time of posting).

‘Hundreds’ has been ‘App of the day/week’ in several publications, within weeks of it’s release.

I’m now looking for an equivalent game for a SMARTboard. Any suggestions, please let me know by leaving a comment.

39. So simple a child could do it

Forget making hearts with your hands – that’s so 2012! Triangles and quadrilaterals are the way to go.

This is quicker than getting whiteboards out, can be used as a memory aid and keeps mischievious fingers busy.

Getting started
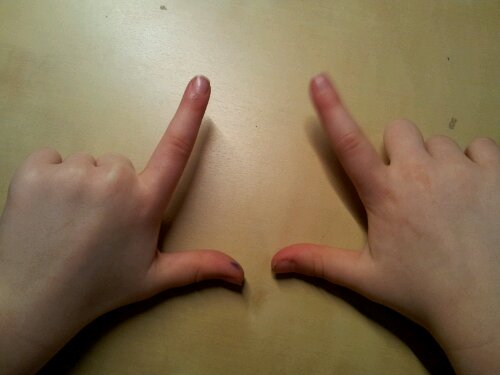
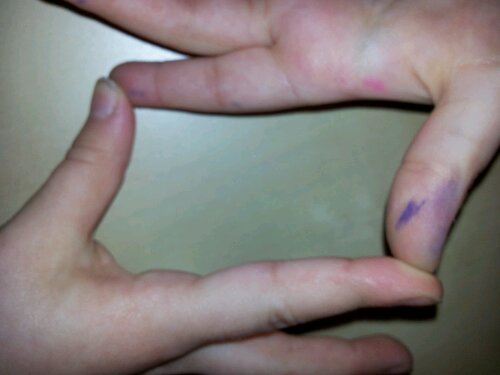
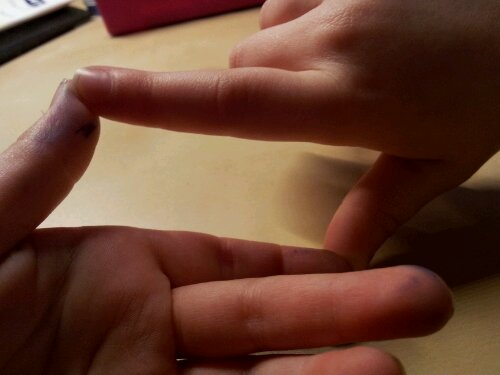
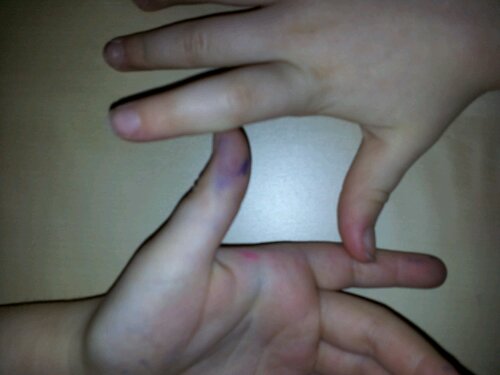
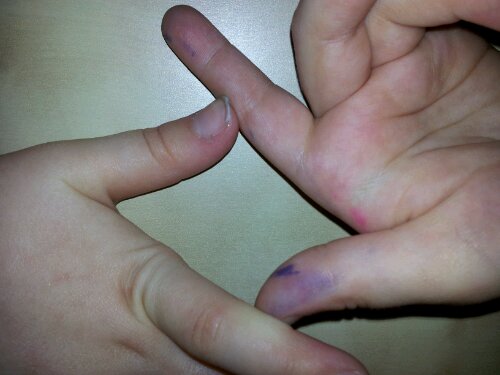
The basic L shapes (my assistant had been busy with felt tip pens before being photographed).

image

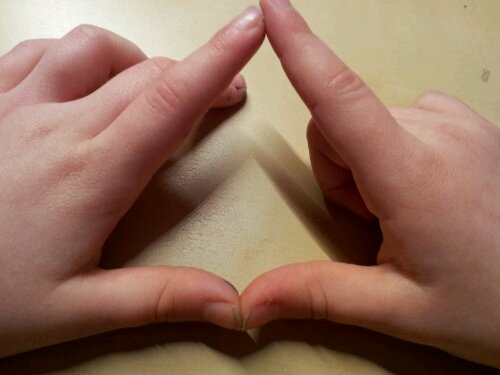
Isosceles Triangle

image

Index figures and thumbs together.

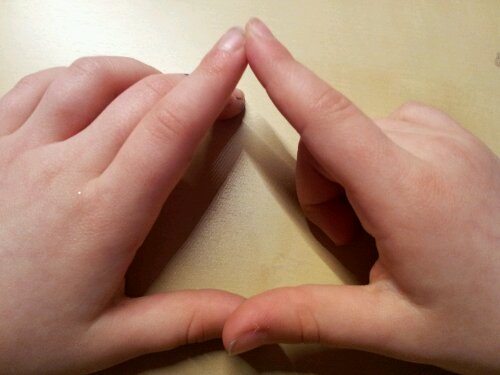
Equilateral Triangle

image

Index figures together, thumbs overlapping.

Rectangle

image

Index fingers and thumbs joined at 90 degrees.

Parallelogram

image

As for the rectangle, but opposite angles equal (as opposed to 90 degrees).

Square

image

Thumbs part way down index fingers at 90 degrees.

Rhombus

image

As for the square, but opposite angles equal (rather than 90 degrees).

Arrowhead Kite

image

Index fingers together, thumbs together, all pointing upwards.

Kite

image

Index fingers pointing up, thumbs pointing down.