Tag Archives: activity

350. Quadratic factor puzzle

Back in posts 95. Quadratic puzzles and 322. Quadratic puzzles I’ve looked at how to approach factorising and solving quadratic equations/expressions in a ‘gentle’ way.

Time to take off the kid gloves!

I have an awesome class of 13 year olds who are starting out on quadratic manipulation. They are great, but there are a significant number who rush their work and skip steps of working out because they ‘know what they are doing’. Really? Let’s see …

I gave the class twelve quadratic expressions and asked them to factorise them, then to spot any common themes. What I didn’t tell them was that all of the factors used were combinations of x, 2x, +/-1 and +/-5. If they were sloppy with their attention to detail, their solution would look like the solution to a different expression. Essentially a difficult easy task.

It soon sorted out those who had at true understanding of factorising a quadratic from those who’d lucked their way through easier questions.

I’ve shared the presentation and pdf version below. I’ve added in two slides where you can cut out the expressions to use as more of a card sort. You’ll notice that there are no 4x^2 expressions – I was focussing on solutions with only one x co-efficient greater than one. Although I used this as a starter, you may wish to use it as a longer activity, depending on your class.

Solving quadratic expressions (PPT)

Solving quadratic expressions (PDF)

320. Pre-A level skills boost

This is the time of year when Year 11 begin the last minute frantic revision, complete their exams in a haze of hay fever and late nights and then have a well deserved extended Summer Holiday. Over that long summer, they will mature into sensible young adults who are ready to make those critical decisions which will impact their future career choices.

Hang on … this isn’t some idealised political pamphlet describing the leaders of tomorrow!

In reality, Year 12 stroll into the first A-Level lesson like over-confident Year 11s in their own clothes. Except in Year 11 they knew more Maths. Odds are your fresh faced class haven’t looked at a Maths book in over ten weeks!

Despite what some students may think, we teachers aren’t evil. We know they need that long summer to just be themselves. What can we do to help out our future A-Level students and allow them to relax?

I’ve put together a booklet of Maths related activities for students to dip into over the holiday which will be given to them on their last lesson. I hope your students enjoy it!

Alevel prep for Y11 (editable docx)

Alevel prep for Y11 (pdf)

I printed these four pages as a colour A5 (A4 folded) booklet and also printed them as a poster set on A3.


307. ‘Why don’t you …?’ Mathsconf8

I finally did it – I ran a session at Mathsconf8, in Kettering! The theme was ‘Why don’t you…?’, inspired by the 1980s UK kids show:

The idea was why don’t you put down the textbook, step away from the worksheet and get your students involved in doing Maths rather than have it done to them. I have to thank the participants for being up for a laugh and getting fully involved. Because it was a hands on session, all the notes needed for the activities are downloadable in a booklet.

‘Why don’t you…?’ booklet (pdf)

Have fun!

Additional link: Crisp people

302. Log Proof Puzzle

If you can guess where today’s blog image came from you obviously consume too much damn fine cherry pie and fresh coffee!

log lady

Image credit: Pinterest

You may have guessed that the topic of this post is logs. If you are introducing the rules for adding and subtracting logs or revising them, I have just the resource for you. It’s a basic proof of both rules with a twist. The instructions are in the wrong order and you must rearrange them into the right order.

Easy!

Are you sure?

For those of you who have a student or two who rush everything and don’t read the instructions there is a sting in the tail. One of the lines of proof is a tiny bit wrong. The methodical student will find it, the one who races through may end up changing more than one line – hence breaking the rules.

Have fun!

Proving log rules for addition and subtraction

Answer: It’s the ‘Log Lady’ from the cult classic ‘Twin Peaks’!

296. Jellybean Trees

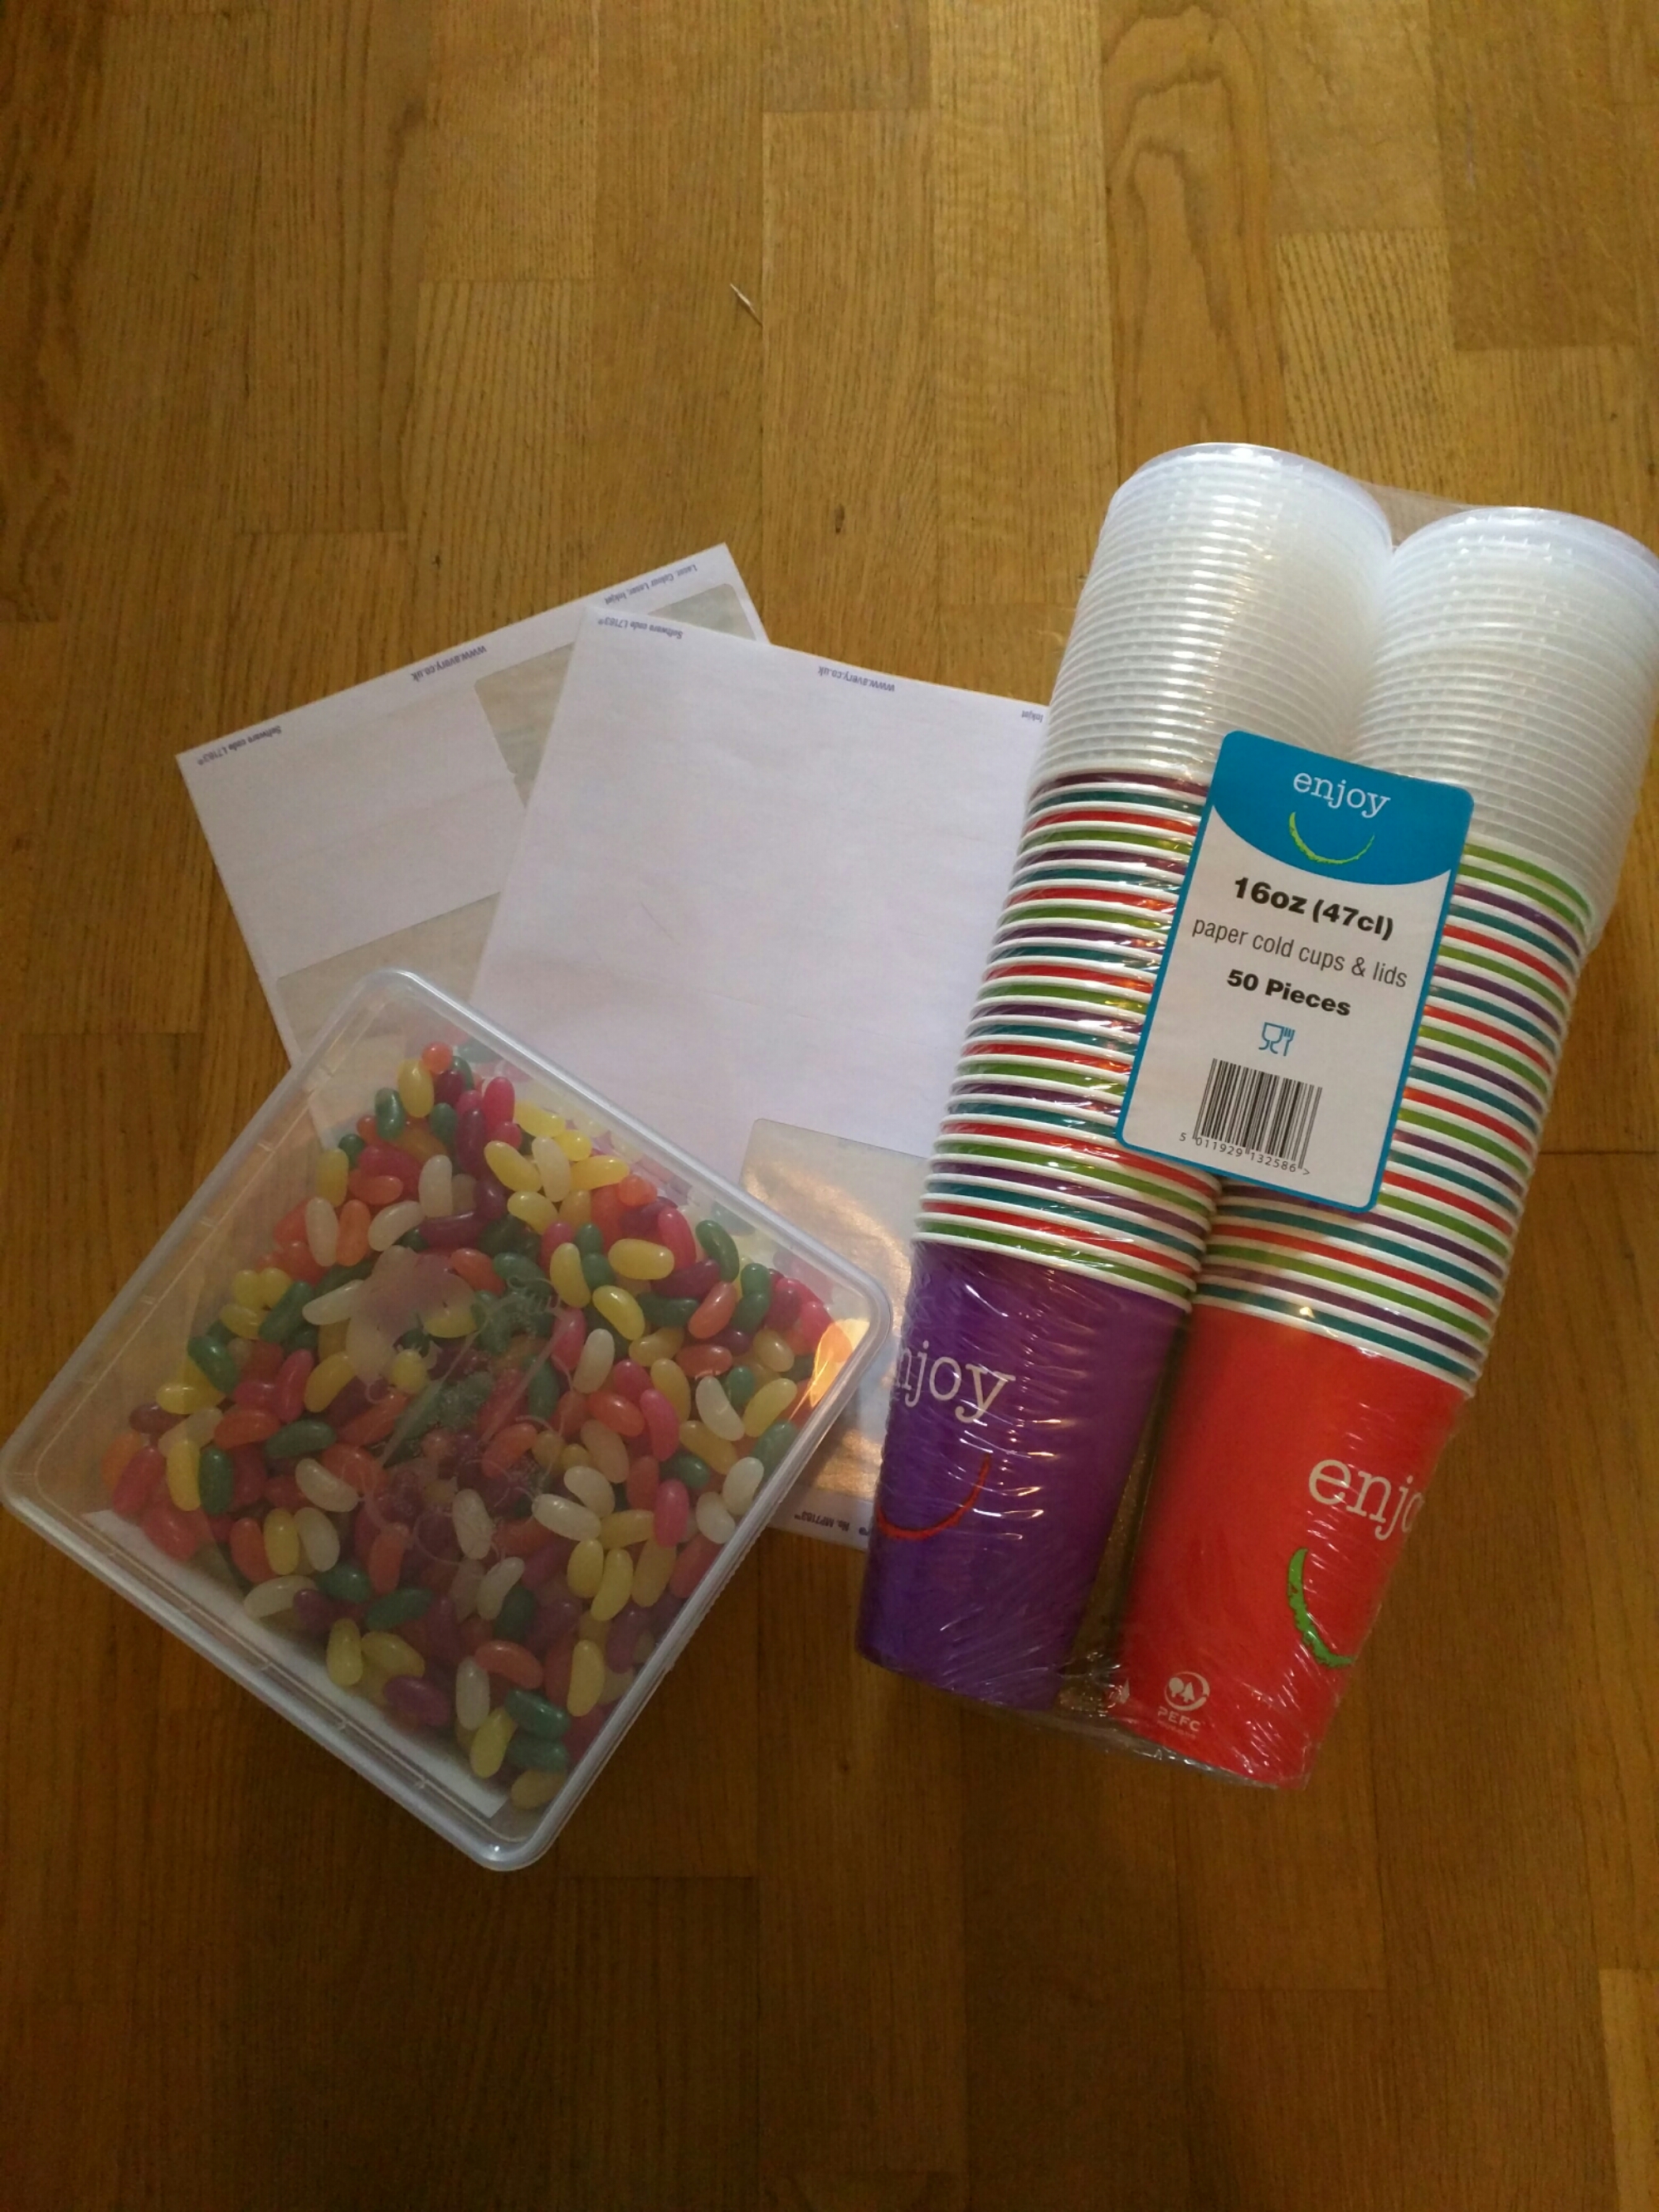
How on earth can you create a maths lesson using these items?

image

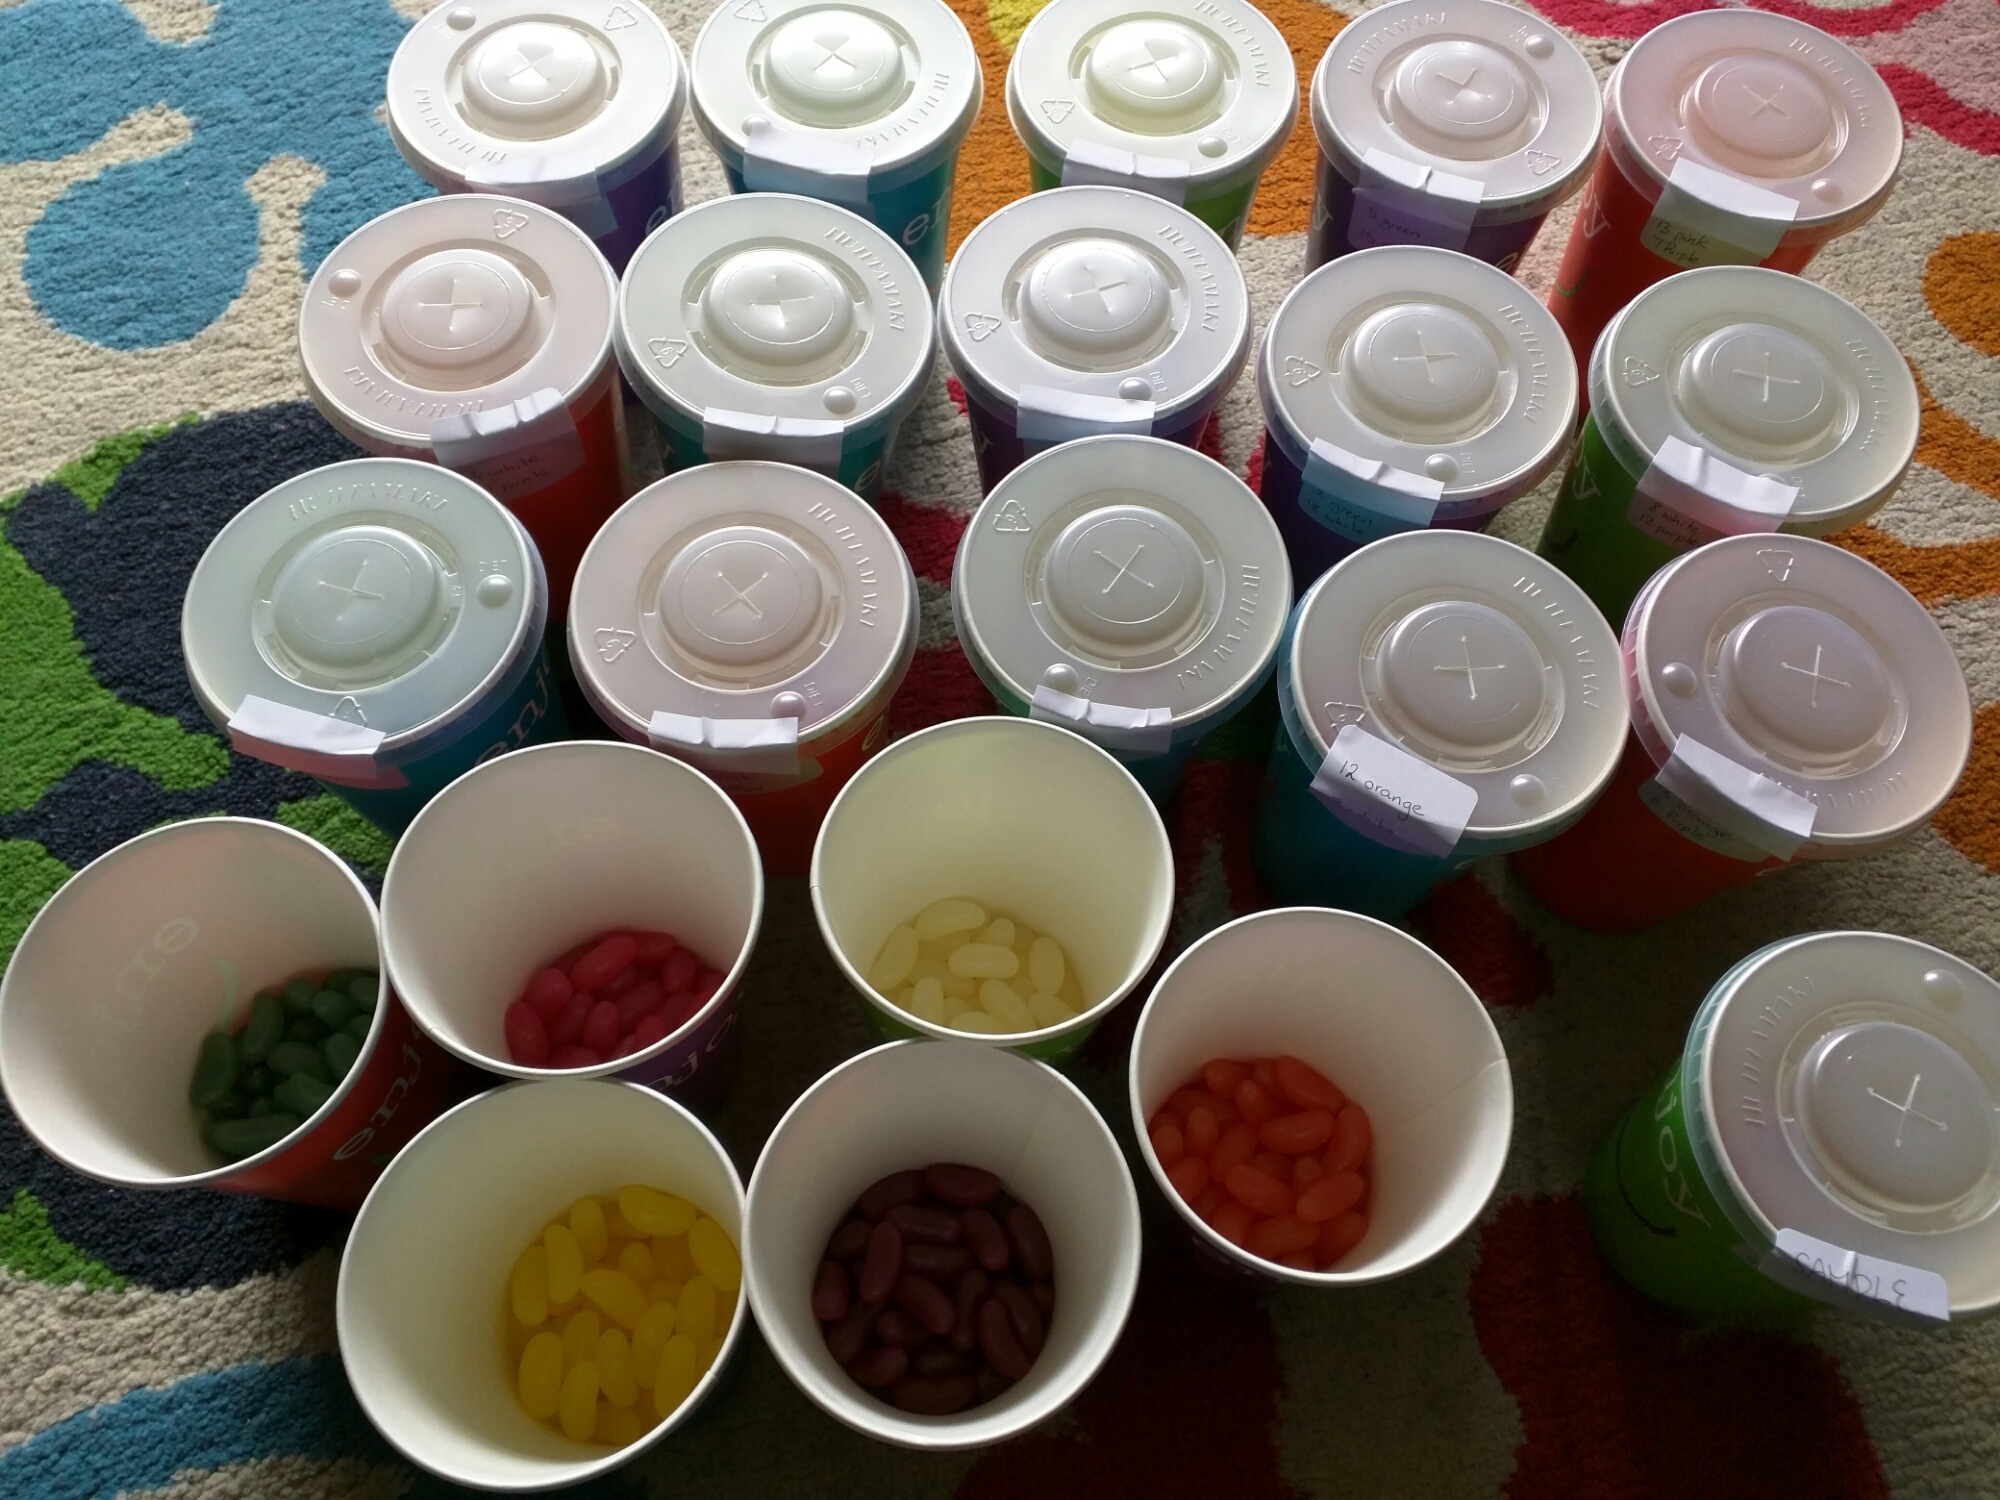
Well, first sort them into colours, then put twenty jelly beans into each cup. Make sure there are only two colours in each cup, write the contents on a sticky label and use that to seal the cup. Each cup should have slightly different numbers or colours – it prevents copying.

Note: Eat all the orange jelly beans – you’ll be doing your dignity a favour!

image

Have you figured it out yet? No? We’re doing probability tree diagrams without replacement. Now I know you could do this with one experiment at the front of the class, but getting everyone involved means it’s more hands-on and memorable.

The Experiment
I did a demonstration of this on the board first, before handing out the cups and worksheets. I told the class what was in my cup and picked out a jellybean. It was orange. I drew the first stage of the worksheet (see below) on the board: What was the experiment? How many of each colour do we have? What is the probability of each colour? Then we filled in the first stage of the tree diagram.

I ate the jellybean.

But you can’t do that – it messes up the experiment! I asked what would be the probabilities for a second jellybean now. They figured out the slight change to the probabilities. Then we went back and thought about what would have happened if my first jellybean had been lemon.

I always encourage students to work out all the possible outcomes before they even look at the rest of the questions. And this is why you need to eat all the orange – the list on the board was:

  • P(LL) =
  • P(LO) =
  • P(OL) =

Do I really need to put the last one?

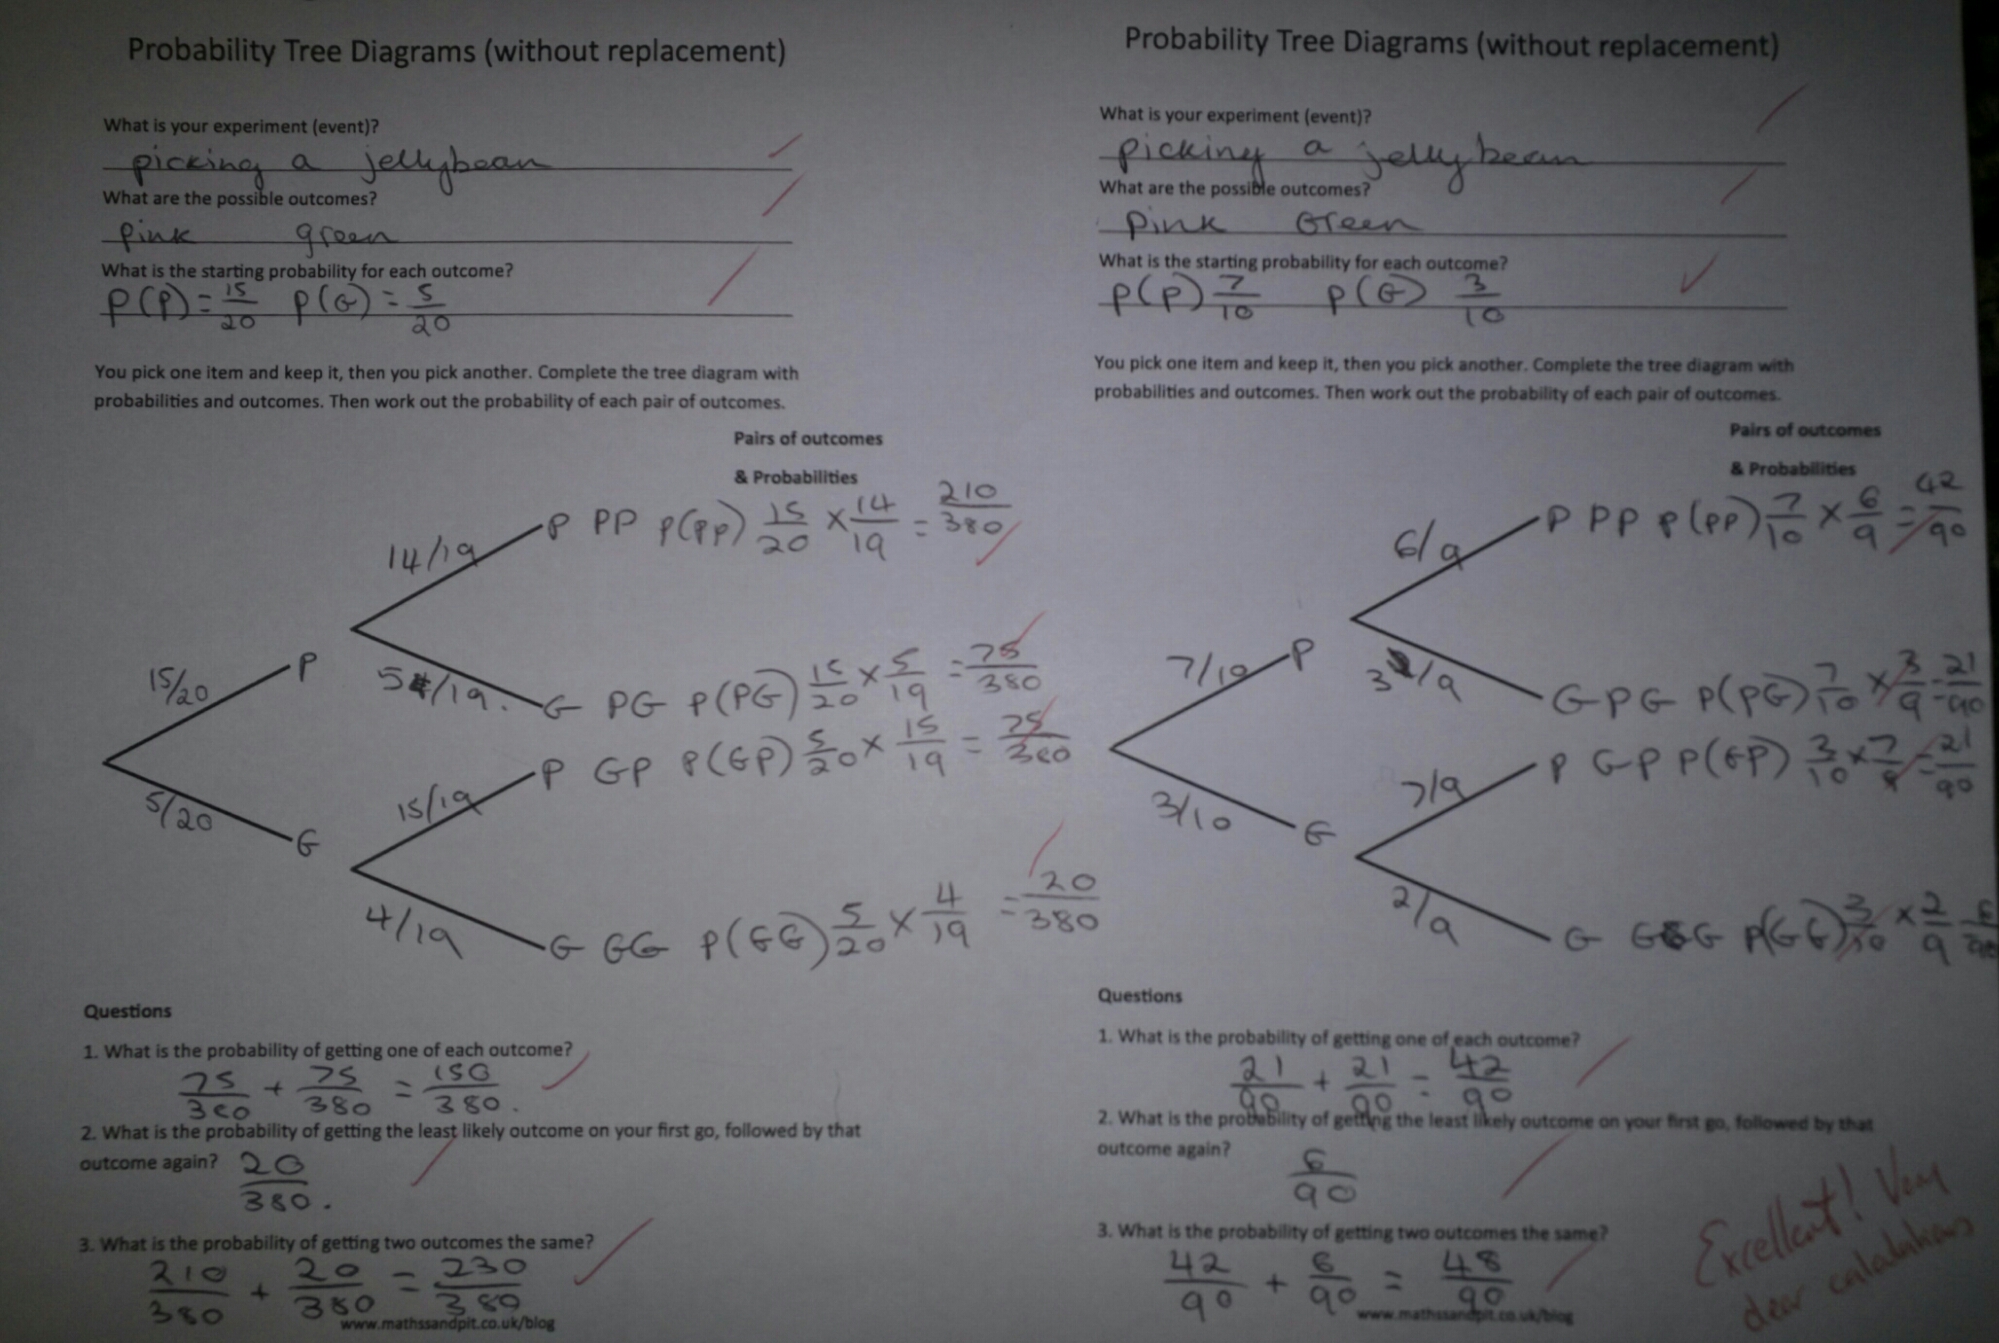
After much giggling, the class were let loose with their own cups. They did the experiment once with their standard cups and then had their work checked. They could then alter (eat) the contents of their cup so that a minimum of five beans of two colours remained. You can see an example of a student’s work here:

image

I summarised the lesson by looking at different types of probability problem where items are not replaced. I now have a nice ‘hook’ to refer to when discussing probability tree diagrams without replacement.

Download the worksheet here:
Tree diagram without replacement (pdf)
I printed out two per page as it fitted nicely in their books. The descriptions are deliberately vague to allow it to be used in different experiments.

(The usual warning regarding food allergies and beliefs stands. Some jellybeans have animal derivative gelatine – please check, you don’t want to accidentally upset a student)

286. Make them work!

I recently taught integration to my Y12 class. To make sure I hit all the misconceptions from the previous lesson, I crafted my board example from a function and differentiated it. The final integration problem had a function to integrate and a point it went through, enabling the constant of integration to be found.

The class managed really well with the problem, but I felt from their questions, that they weren’t ready for independent work. Off the cuff, I explained how I’d constructed my example. Then it struck me – get them to use the same process:

1. Think of a function f(x) – the difficulty level is up to you.
2. Pick an x value, then work out f(x), to give you a point (x,y).
3. Differentiate f(x)
4. Give your point (x,y) and f'(x) to a partner.
5. Your partner works through your problem trying to find f(x).
6. Check your partner’s method and solution.
7. If they didn’t get it right, go through their method and see if you can see if they went wrong.
8. If you can’t spot their mistake, did you go wrong?

I thought getting students to differentiate as part of an integration lesson would be a recipe for disaster, but it actually helped consolidate the links between these two processes. The functions that the students thought up were far worse than anything I’d used previously – they had brackets that needed expanding, fractional indices, negative indices, decimal constants etc. The conversations about the work and levels of engagement (competitiveness) between partners was brilliant.

I’d recommend trying this style of activity and I know I will be adapting it for other topics.

284. All tied up – an adventure in skewness

When you move from 2D vector equations to 3D vector equations the biggest challenge is skewness. On plain old 2D graphs if two lines aren’t parallel, they intersect and vice versa. Not so easy in three dimensions … how to explain skewness? Got some string and duct tape? Then let me explain …

Equipment
String
Scissors
Duct tape
A low ceiling
A chair/stepladder/tall student

Step 1
Tape a piece of string from the ceiling to the floor at an angle. Attach a second piece to the ceiling and ask students to position it so it is parallel with the first string. This isn’t as easy as it seems once they realise it must look correct from every angle. Secure the string to the floor with duct tape.

Step 2
Attach a third piece of string to the ceiling. Instruct students to position it so it intersects one of the strings. Secure the end.

Step 3
Attach a fourth piece of string to the wall. Ask them to position it so that it is not parallel to or intersecting any existing string.

(My ingenious bunch took the string out of the door and fastened it to the bannister, just in time for management to thankfully not be garroted)

Step 4
Give the students a fifth string and instruct students to make it parallel to an earlier string and intersect the fourth string. They choose both end points.

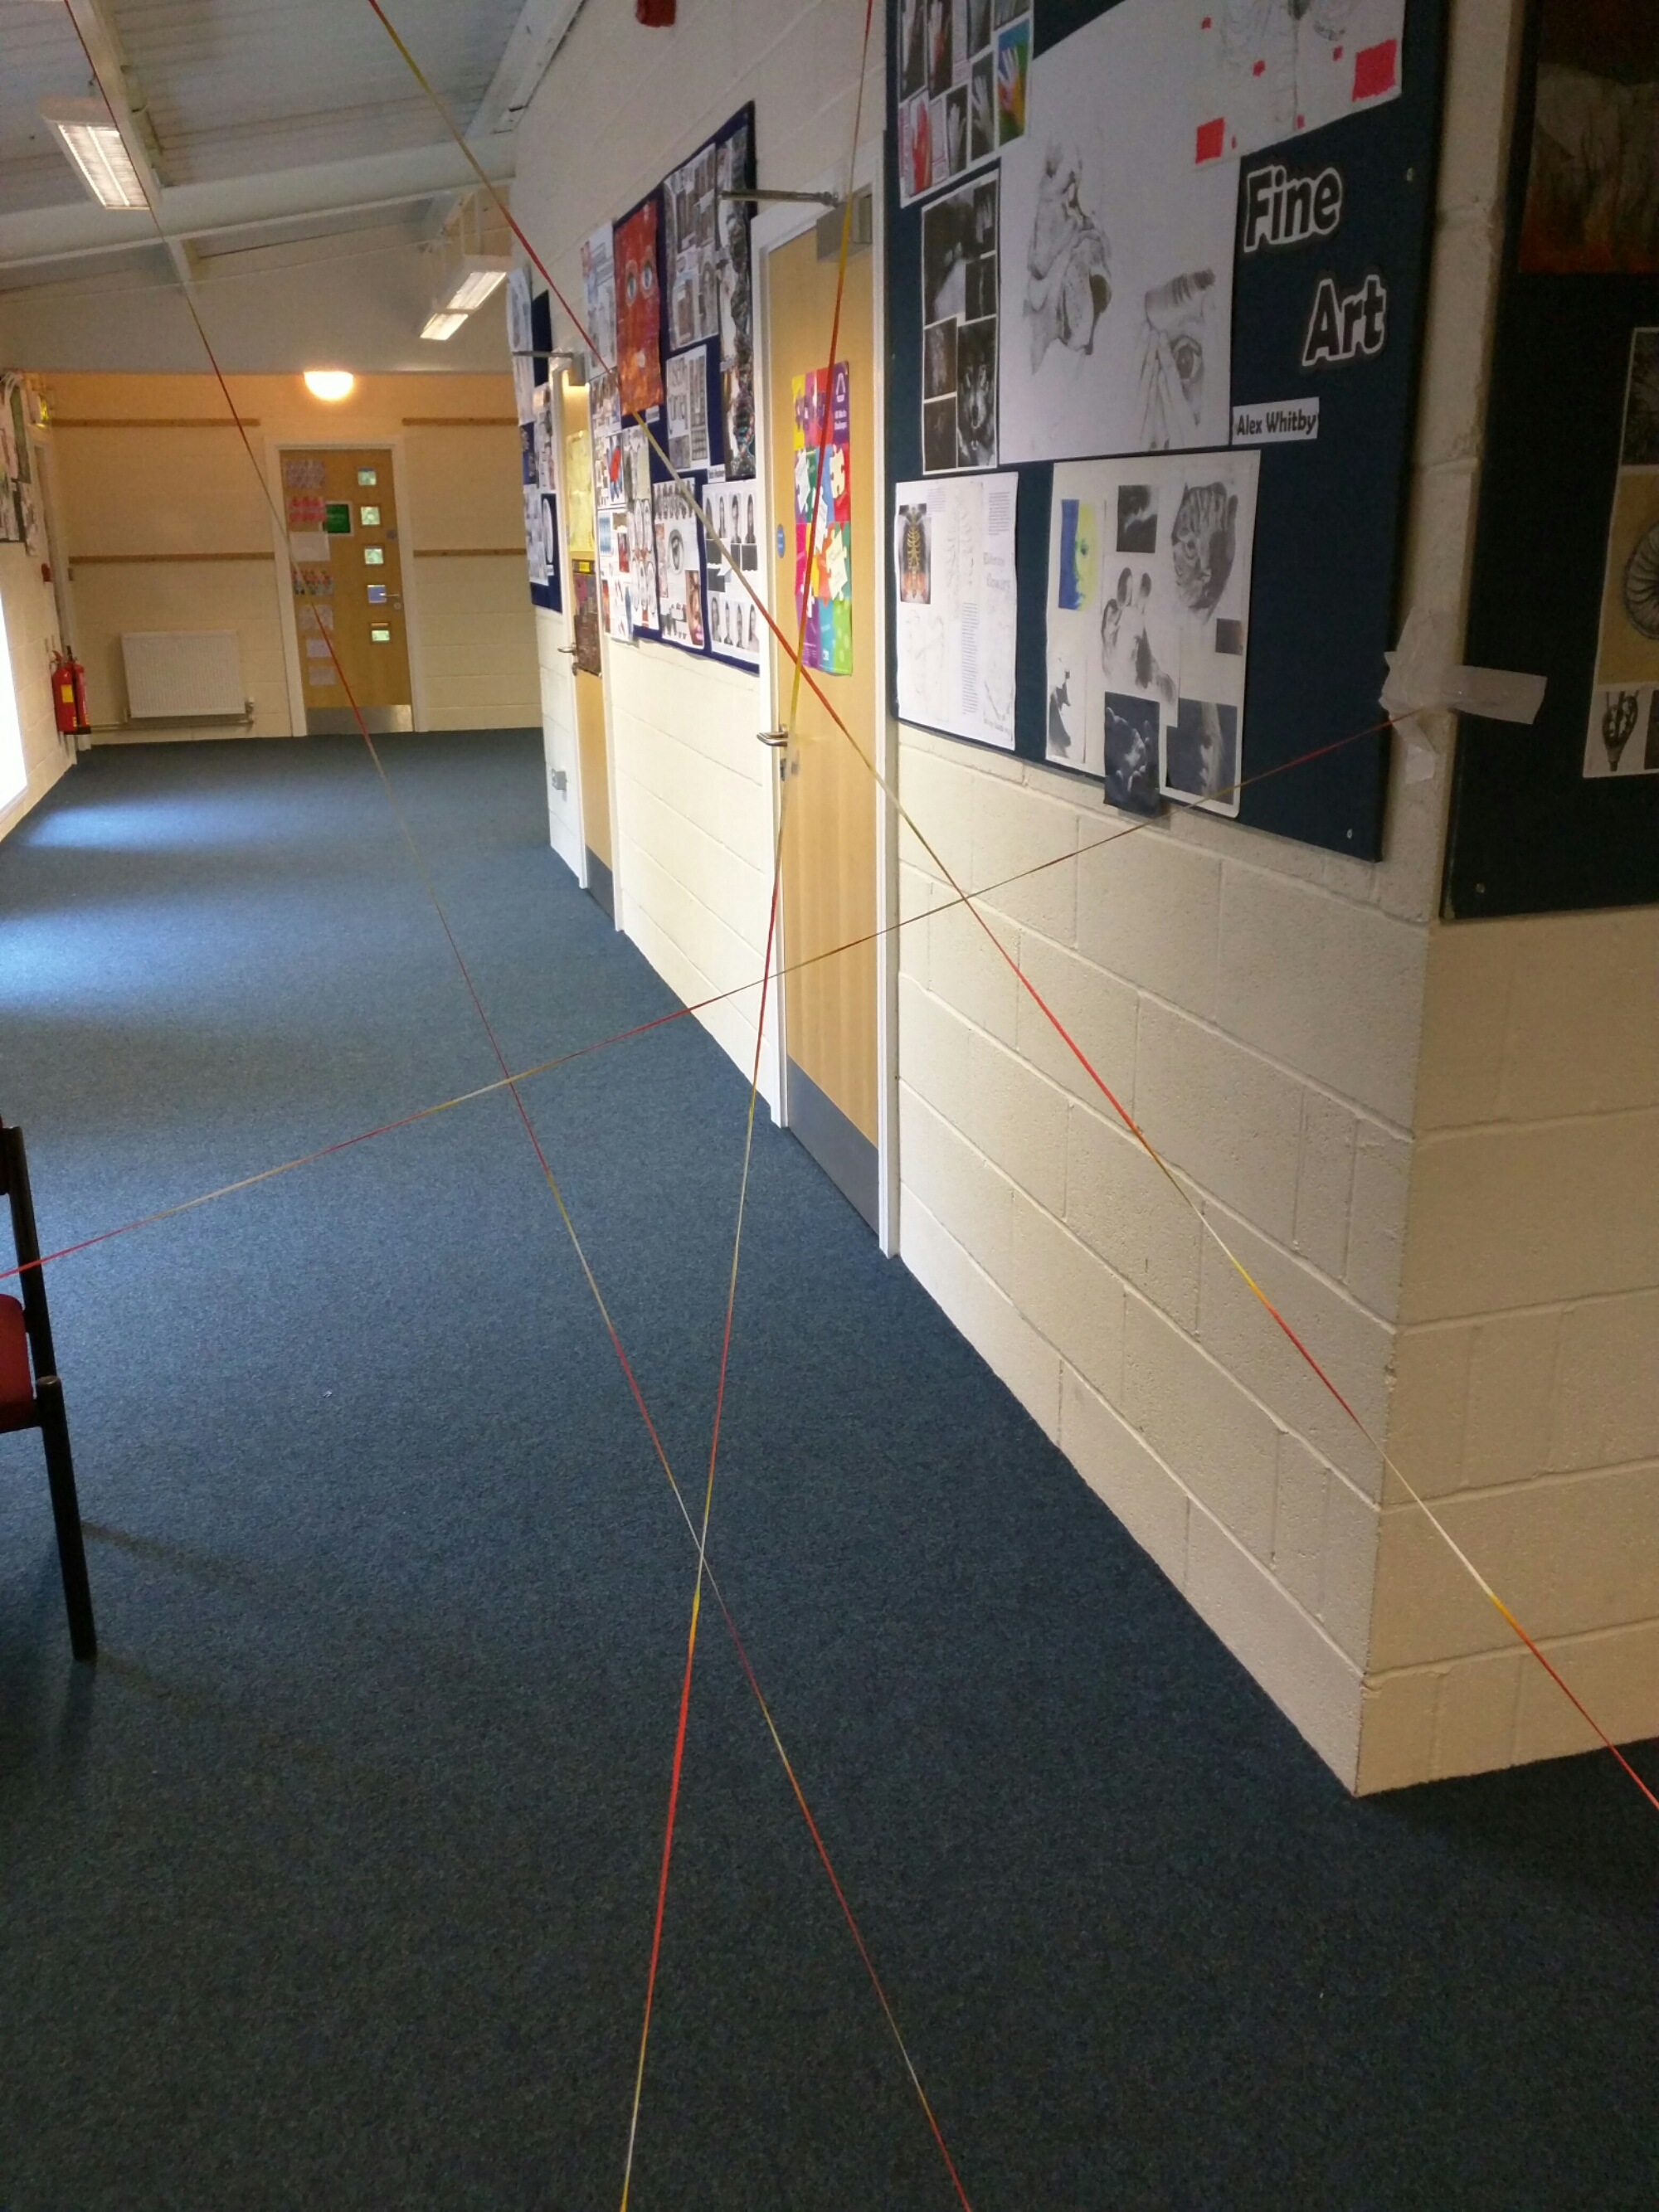
If all goes well, you’ll get something like this:

image

You can then explain the differences between parallel, intersecting and skew lines without resorting to iffy diagrams on a whiteboard or complicated geometry software. Students can walk through them and really get a feel for the geometry of the situation.

(When it comes to taking it down, I hope your students are slightly more sane than mine – one of them shouted ‘Argh, it’s a spider web’ and ran through it. Actually quite an efficient way to tidy up!)

Resources
You can download five large print 3D vectors here:
3d vector cards (pdf)
3d vector cards (docx)
The challenge is to find the parallel lines (3 lines), the skew lines and the intersecting lines (2 pairs).

There are more ideas on 3D vector equations here:
211. Hidden Rectangle Problem