Tag Archives: origami

343. Butterflies, dreams and stories: How to say goodbye

It’s finally here. My Y11 form group are going on study leave next week. I’ve been their tutor since the summer of Y8. They really are a lovely bunch of students. I’ve been planning their goodbye for some time.

Dreams

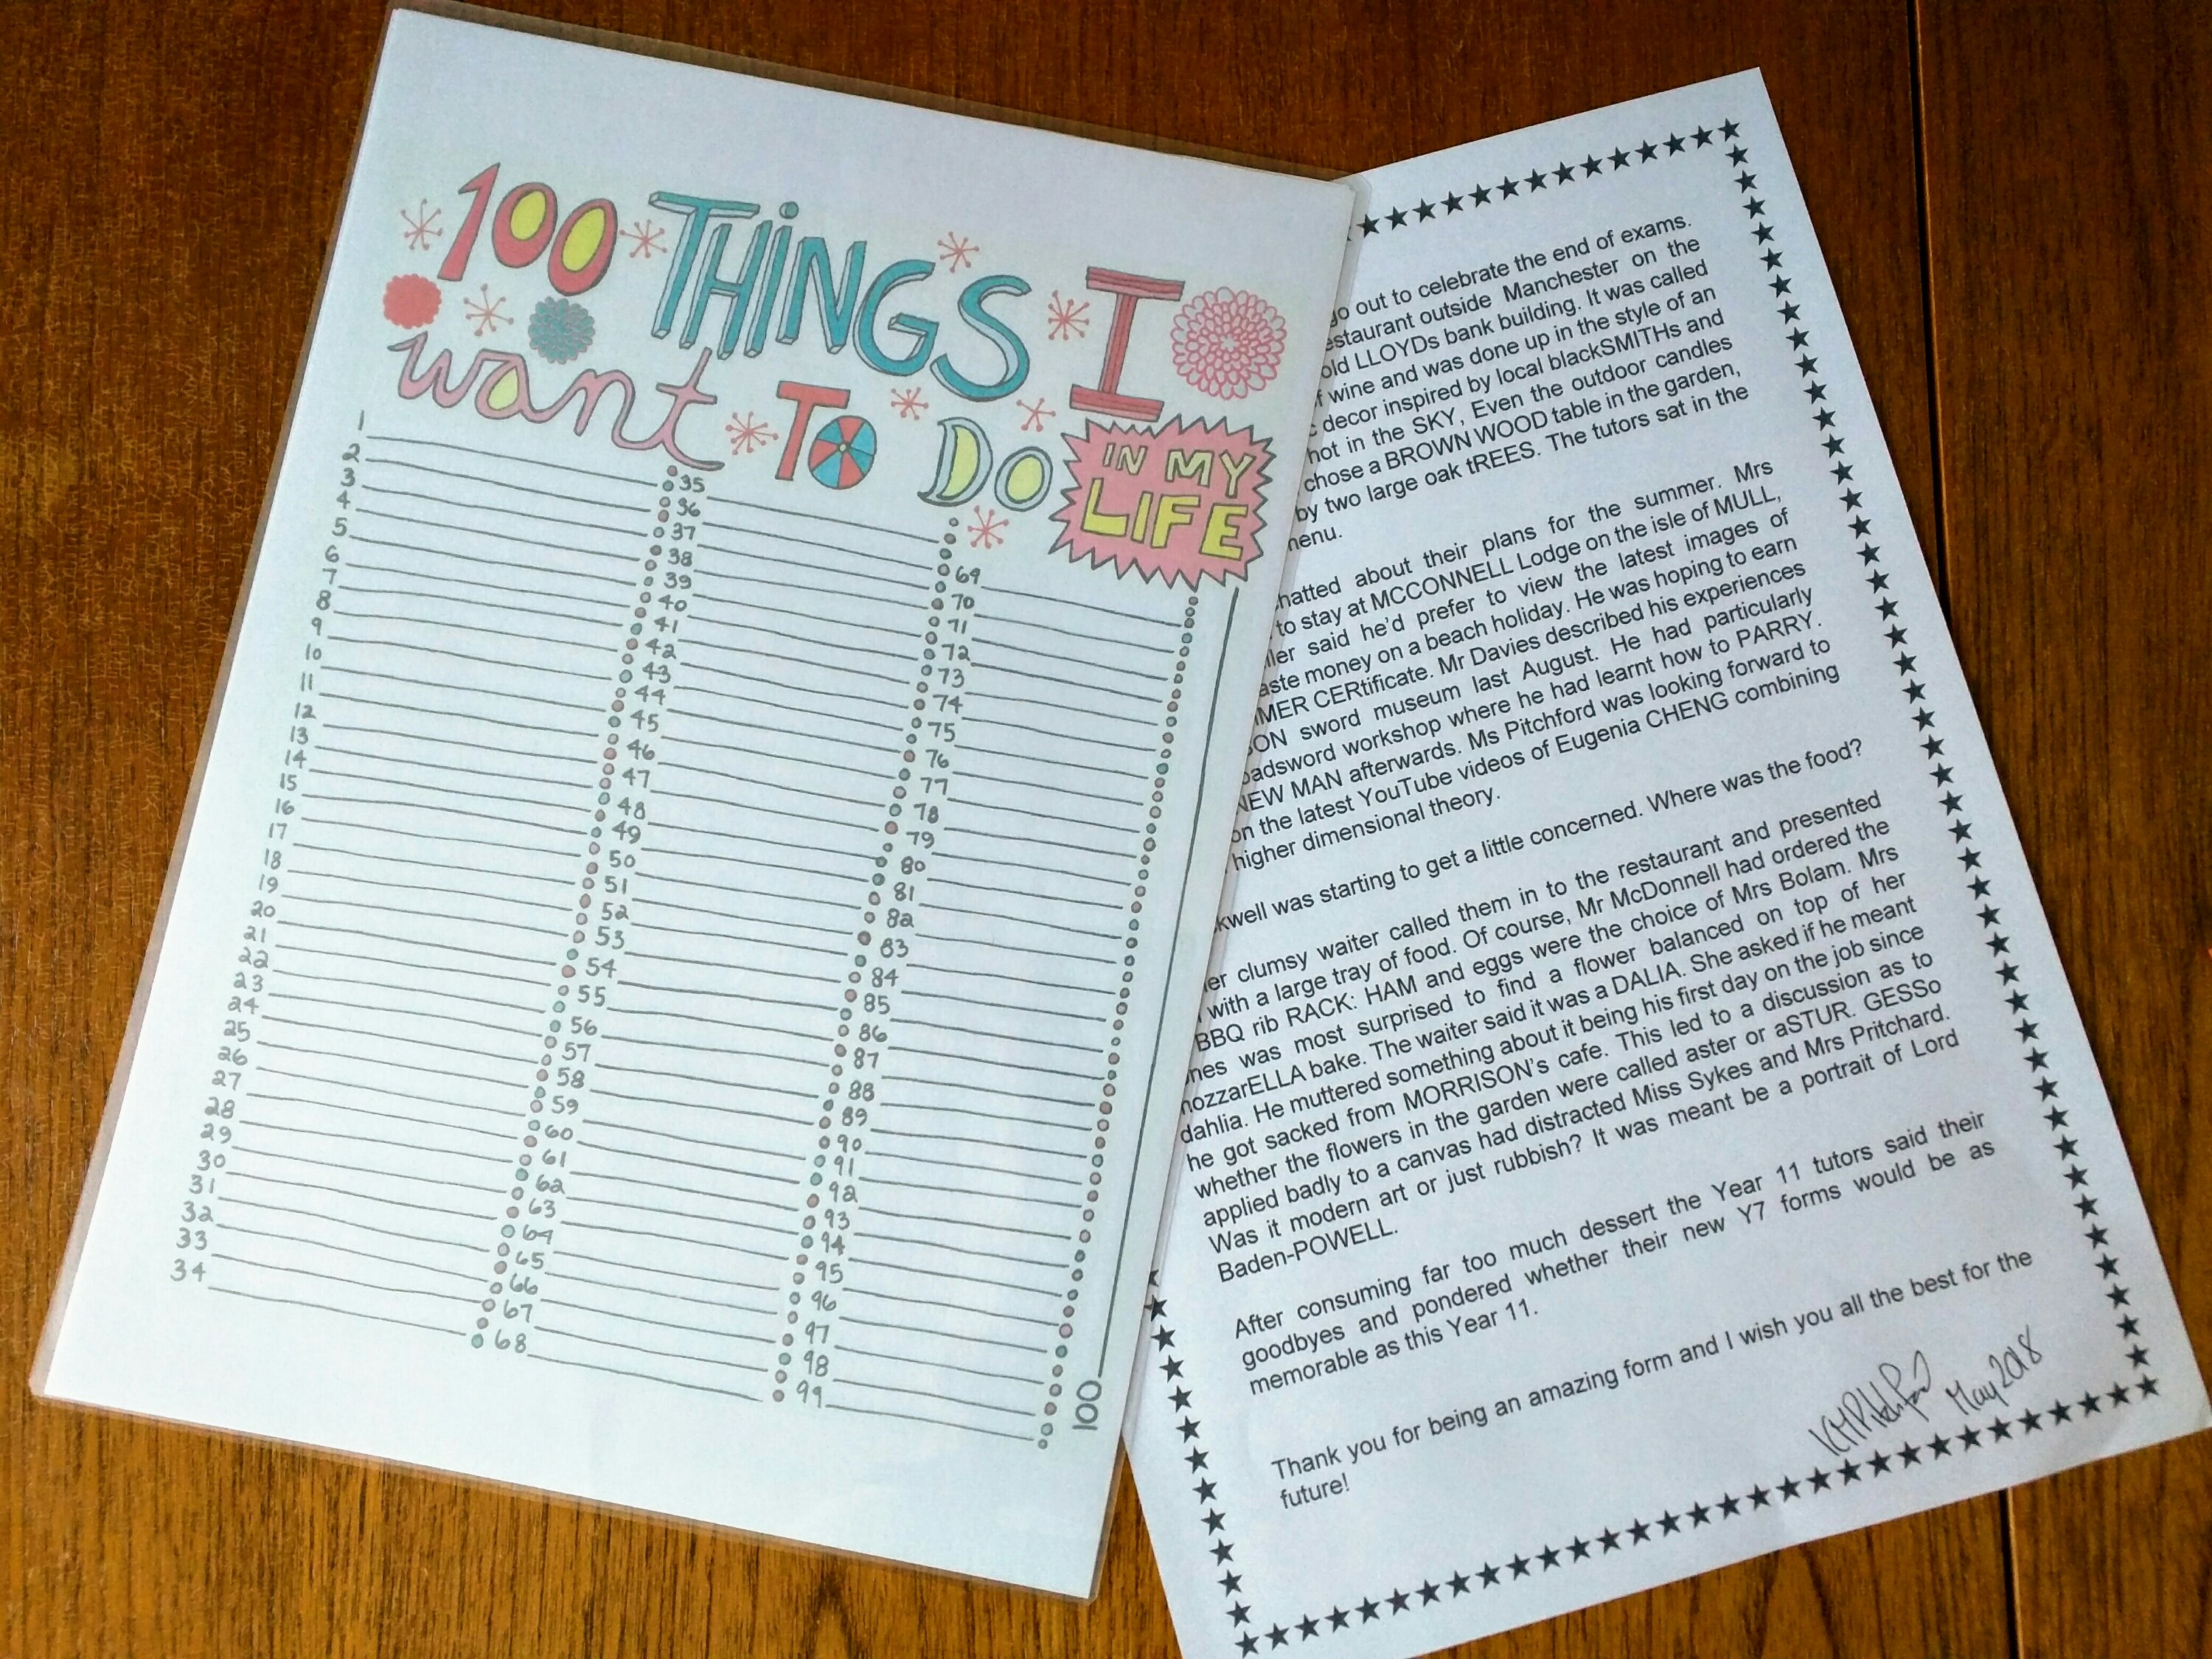
Since Year 9 I’ve periodically given out “100 things I want to do with my life” sheets. I found the image on Pinterest. They’ve added their aspirations over the years. Some are more detailed than others, depending how seriously they took it.
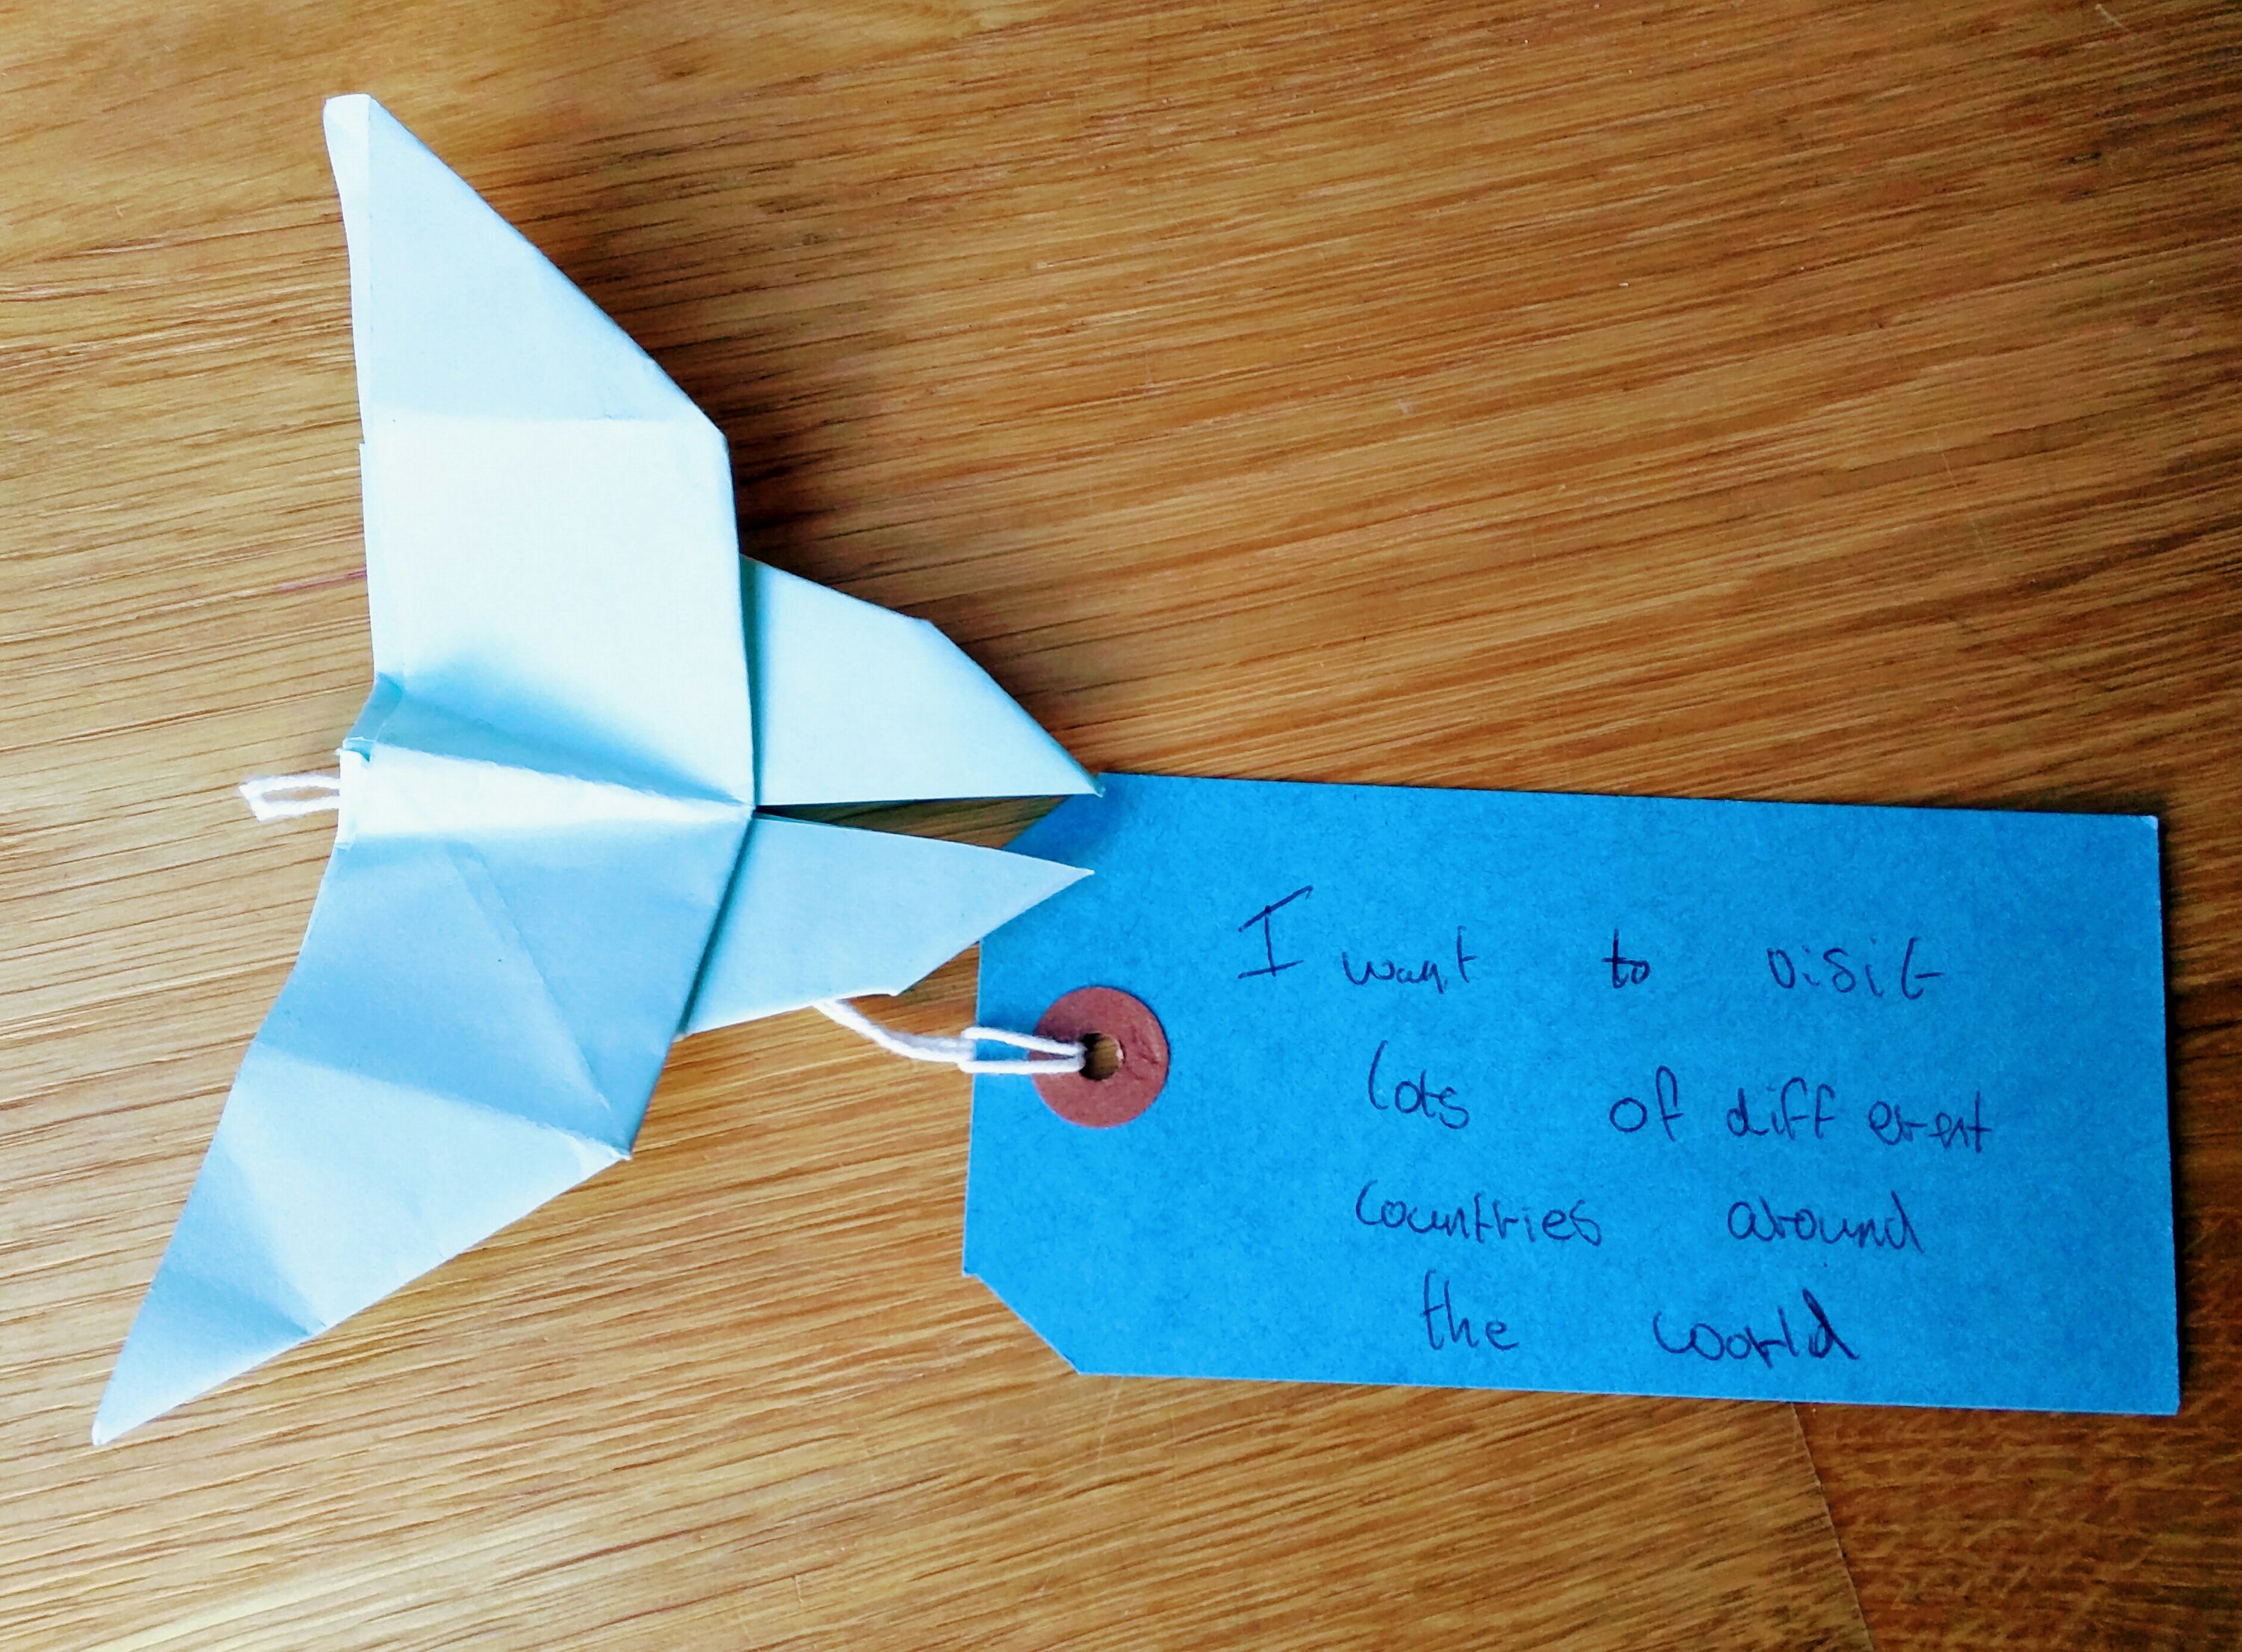
Butterflies

Inspired by the origami of Clarissa Grandi and her amazing website, at the start of Year 10 each student made a butterfly. Each student wrote a hope or dream or positive message on a coloured luggage tag. They attached the luggage tag to their butterfly and I put them up on the wall. They’ve been there ever since.

Stories

I wrote a silly story with every students’ name included. Some are obvious, some are sneaky.

Finally

I put each ‘bucket list’ back to back with the story, then laminated them (if students want to add to their lists they can just use a permanent markers). Each laminated sheet was rolled up and secured with a cheap hair elastic. I then slipped the luggage tag under the band. They look like graduation scrolls.

All these things could be done in a much shorter period of time. I think they will be a personalised memory of their time at school.

126. Kusudama to meet you

Wow … September again and many people will be meeting new faces for the first time. Learning names, setting out classroom rules, figuring out who’s got all the textbooks you need …

image Made using origami paper.

Back in July I made Kusudama flower balls with a couple of classes. It occurred to me then what a great ice-breaker they could be. They’d also be a nice maths club project.

Definition of Kusudama from Wikipedia

The Japanese kusudama (薬玉; lit. medicine ball) is a paper model that is usually (although not always) created by sewing multiple identical pyramidal units (usually stylized flowers folded from square paper) together through their points to form a spherical shape. Alternately the individual components may be glued together. Occasionally, a tassel is attached to the bottom for decoration.
Resources

You will need:

  • 5 squares of paper for a flower
  • 12 flowers for a ball
  • 60 squares of paper in total (sugar paper is cheap, but doesn’t tape together well)
  • String if you wish to hang it up
  • Card if you wish to mount a half ball on the wall
  • Sticky stuff: glue sticks or glue dots or pva glue or tape or a hot glue gun – whatever works for you!
  • Beads or ribbon for decoration (optional)

Activity

It has an instructional video and very clear step by step photographs. It’s so easy a six year old can (and did) do it!
image
  1. The instructions assume 30 pupils in a class. Let each pupil make a petal following the step by step instructions and then independently make another (2 petals each).
  2. Pupils pair up and stick two petals together (1 petal each and 1 pair stuck together).
  3. Pairs team up with another pair and stick their pairs together (1 petal each and 4 petals stuck together).
  4. One person in the four uses their extra petal to complete the flower – that person is in charge of the flower ( three people with 1 petal, one person with a flower).
  5. Flower pupils form a group and start sticking their flowers together.
  6. Petal pupils work with new people in groups of 5 and create another flower.
  7. Eventually 12 flowers are completed and stuck together.


Notes:

  • String should be firmly attached before the ball is complete.
  • It is advisable to staple a half ball to card or the wall to prevent it collapsing.


Thank you to @c0mplexnumber for the original inspiration for this activity.

Have fun folks!