Category Archives: General

55. Fun with Desks!

If you are anything like me, it will be unusual to keep the same desk arrangements in a classroom for a term, let alone a year. I quite often get ‘What have done to the desks this time, Miss?’, accompanied by a despaired look.

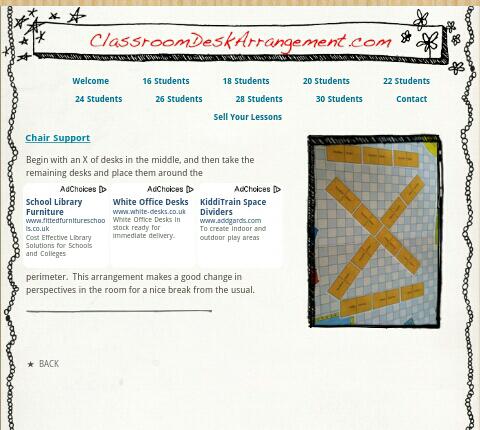
Now I reckon I’ve done most things from single desks to no desks and every arrangement in between, but I’ve just come across this website:
ClassroomDeskArrangement.com
and I’ve found arrangements I’ve not tried.
image

You can search the pages by class size. It does assume you have a rather standard size/shape room, but there are lots of ideas you could adapt.

54. Space saving displays

I used to teach in a corner classroom: 8 windows, lovely light quality, nice views, only one maths display board.

We had to get creative about how to display work.

Peelable glass paints were useful for making temporary stained glass effect displays on the windows. They were time-consuming and tricky to do with large groups.

Hanging displays were very useful. The longest display I’ve ever done consisted of 30 strips of A4 length card, with a transformation repeating pattern on each. The card was hole punched at either end and then attached with a piece of string to the next one (treasury tags would have been quicker). It took a lot of blu-tak to put it up, but it went nearly the whole way around the room.

My children were making Easter bunting and it got me thinking. Why don’t we use bunting to summarise key facts in class? It’s easy to make, cheap, you can colour code by topic and you can add to it all term by connecting another fact onto the end. It won’t take up precious wall display space as you can hang it above displays, around boards or even across the room.

Equipment
Card (size and color of your choice)
Scissors
Ruler
Hole punch
Tape (optional)
String or treasury tags

Decision time
Decide on your theme:
– one colour for all?
– one colour per topic?
– one colour per grade?
– traffic light for difficulty?

Decide on your shape:
– classic isosceles triangle?
– rectangles for more writing area?
– different shapes for different shape facts?

Isosceles triangle instructions
The instructions were made using A5 card.
Measure roughly 2-3cm down from the narrow end of your card.

Mark the midpoint of the bottom of the card.
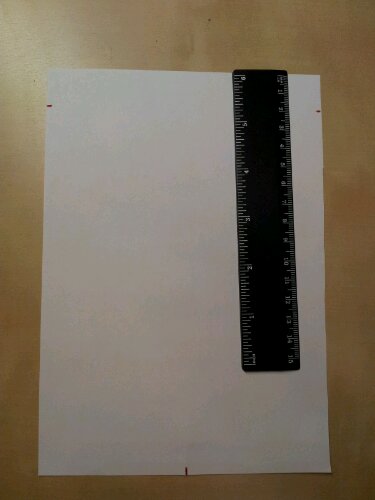
image

Join up these three points and cut out.
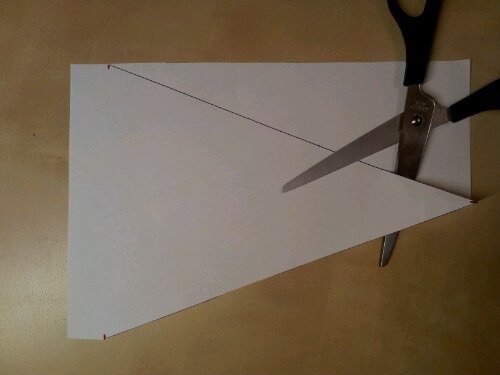
image

Wrap a small piece of tape around either side of the top of the shape. This strip across the top reinforces the flag. The holes won’t be too close to a point, nor will they tear easily.

Hole punch the tape.
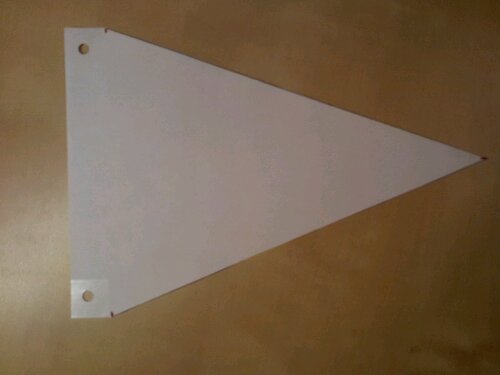
image

Repeat for as many flags as you need.
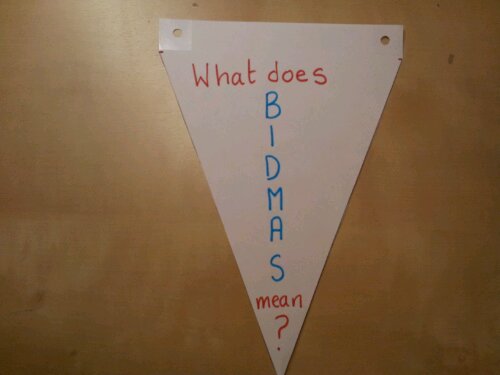
image

Connect them together by threading onto a long piece of string, if you want a fixed length display.
Connect them by treasury tag or knotted string, if you want an extendable display.

If you made one of these for each unit, you could store them away and get them out for test revision or recaps.

52. Special Offer 2

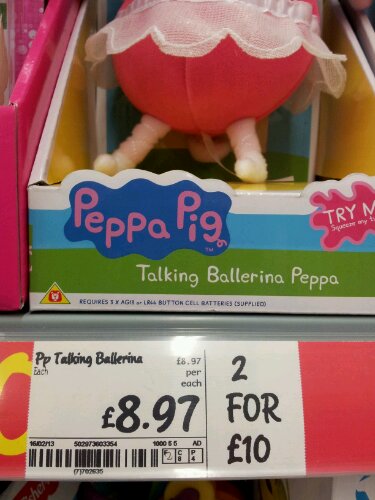
I think you’ll agree that this is a pretty good offer:

image

A total saving of £7.94.

How about this one?

image

I know these are meant to be mix and match offers, but the numbers are just funny.

(PS: I hope the discount algorithm on the till system doesn’t automatically apply the offer price if you buy two of the second toy.)

50. When will I ever use this …

image

A prescription says to take 2 pills every 4 hours, but don’t take more than 8 pills in 24hrs. There are 100 pills in a prescription.

If you start taking them on the 22nd March, when do you stop taking them? Assume you start taking them at midday and are in bed by 2230.

You can’t get a more real-life maths problem than that!

48. Percentage book

I’ve found that copying examples and methods into a useable revision resource can be tricky for younger pupils or those with concentration issues. They don’t refer back to their notes because they are either incomplete, unreadable, unfindable in their book or just lost.

I saw instructions for making simple books from a single sheet of paper and wondered if it was worth a try.

Non calculator percentage book

Making the book
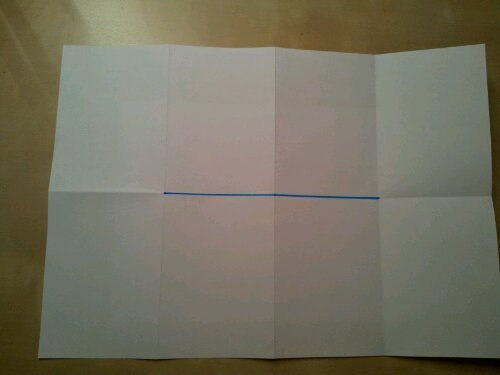
Fold a sheet of paper into eight as shown. The sample here is A4, but I used A3 in class.

image

Cut along the middle two quarters (blue line in the picture) and fold in half lengthways.

image

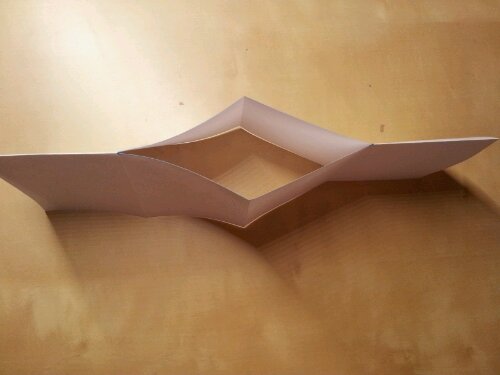
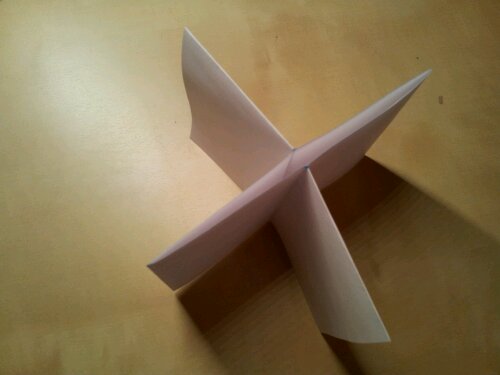
Fold this into an X shape.

image

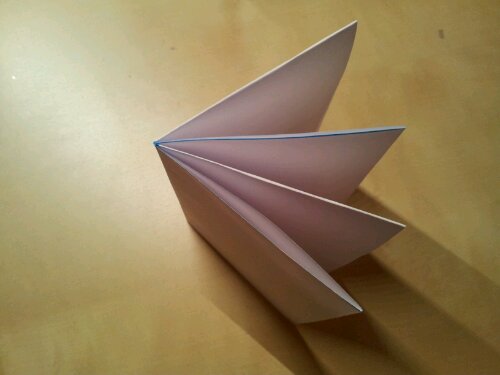
Arrange into a book.

image

Instructions
Clearly label the cover – you want your pupils to find this easily.

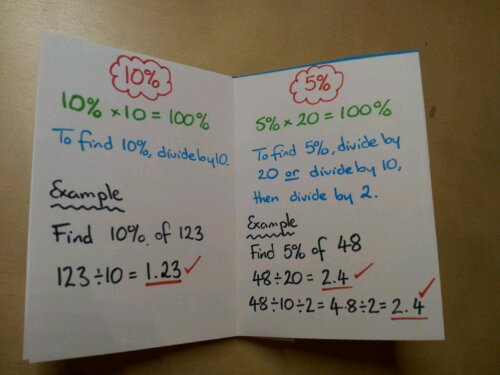
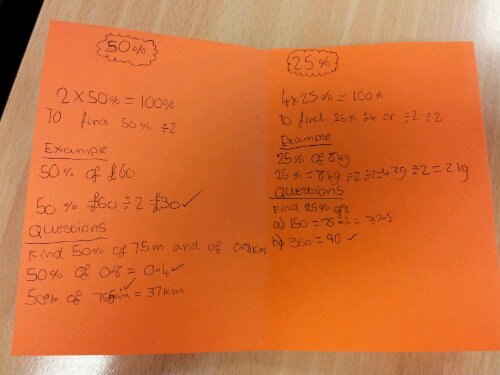
As we filled in each page, I explained why we did each process. Because their books were larger, the bottom of their pages had questions too.

image

We covered 50%, 25%, 10%, 5%, 30% and the last page was a challenge/extension task: 17.5%.

The back page was left blank so that they could stick the mini-books into their exercise books.

Example

image

47. Light bulb moment

Here is a ridiculously simple classroom tip that was thought up by one of my pupils today.


Situation

The class were using past GCSE questions, compiled in a Word document, photocopied back to back and stapled.


Problem

After completing a table of values, the question said ‘Use the graph paper below…’, except the graph paper had ended up three sides of A4 away due to a crazy quirk of Testbase (GCSE exam question software) and Word. Cue much mumbling and enough paper shuffling to make me think a hamster was rearranging his bedding!


Solution

One pupil simply asked if she could take a picture of the table of values, so she wouldn’t have to keep flipping pages.


So simple … pure genius!


Within 5 minutes, the class were quietly doing very accurate cumulative frequency diagrams, without silly mistakes and rustling.