Monthly Archives: November 2013

164. Plant a Learning Tree

Do you know that feeling when you are starting a topic which is building on existing knowledge and you are not sure how much to recap? Too much recap and they start the topic bored, too little recap and the new work is too difficult. What to do?

To quote an old UK TV ad: “I want to be a tree!” (Prudential, 1989).

I have a bright class of 13/14 year olds and needed to start some algebra work. We ended up making a tree.

Equipment

  • Coloured paper
  • Felt pens or markers
  • Glue
  • Scissors
  • Roll of backing paper or wallpaper (I cut mine to fit on the back of a door)
  • Optional: mini-whiteboards for mindmaps

Activity 1
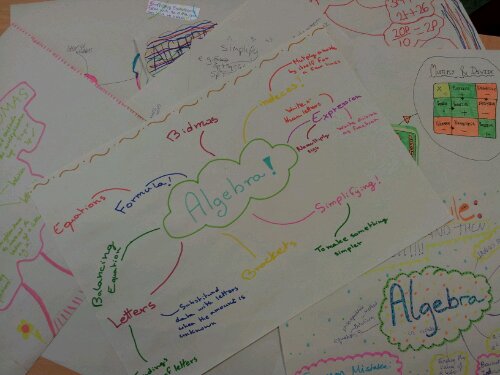
In small groups, pupils draw mindmaps for the word ‘Algebra’. Encourage them to group or link topics.
image

Activity 2
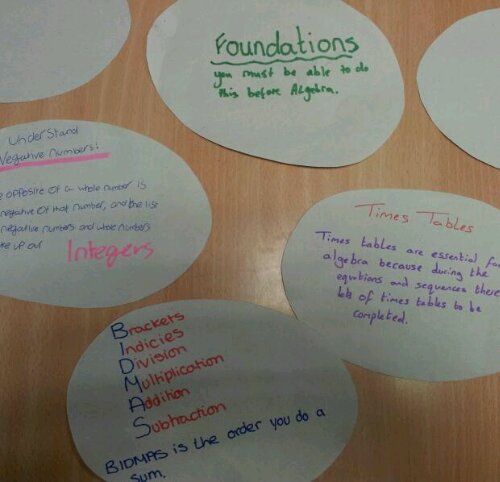
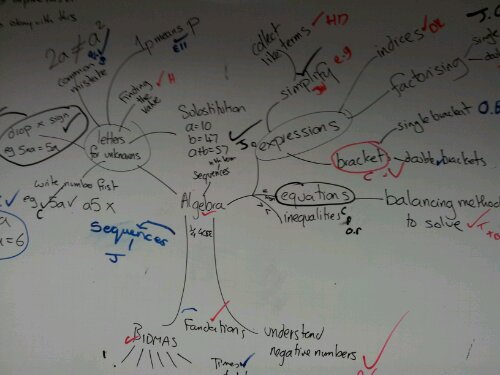
Collect the answers on the main board. Any concepts which are not specifically algebra can be categorised as foundation skills eg understand calculating with negative numbers.
image

Activity 3
Split the diagram into parts:
Stones: foundation skills which are essential for algebraic success

image

Branches: subdivisions of algebra
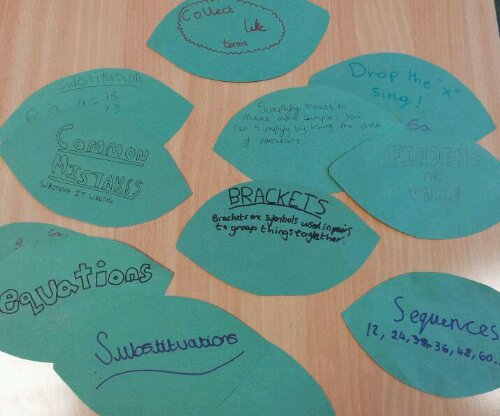
Leaves: specific topics or objectives
image

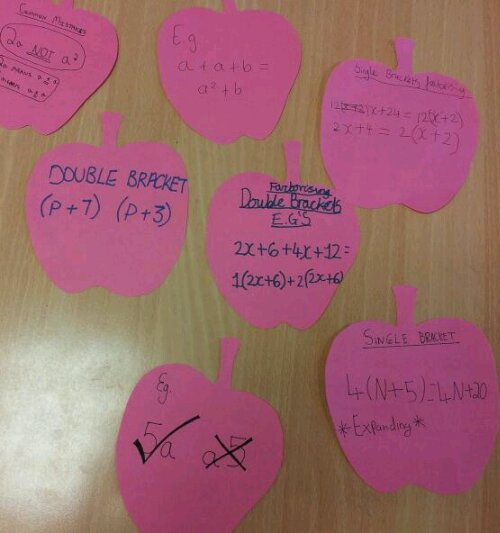
Fruit: examples
image

Activity 4
Assign the different stones, branches, leaves and fruit to pupils to complete.

Activity 5
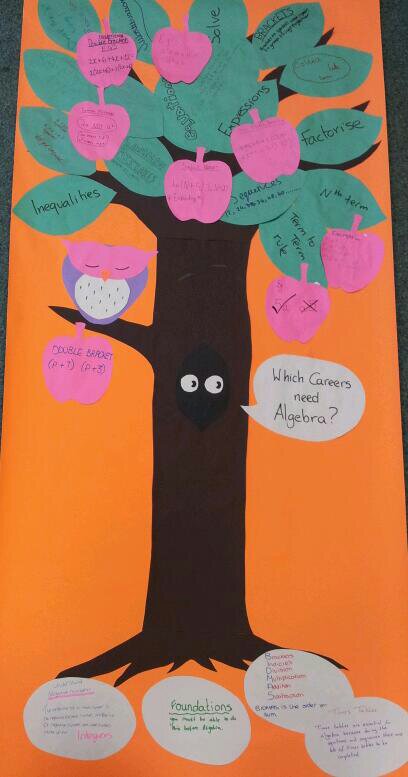
Assemble your tree. I added an owl and a disembodied voice asking ‘which careers need algebra?’. My branch labels were quickly covered by leaves, so I substituted extra leaves with these labels instead.

image

Variation
This could work for any topic in any subject. Imagine how good a tree lined corridor would look – a new tree for every area of study.

Review
I moved around the room chatting to pupils as they worked and got a good idea for where I need to start the next lesson. The pupils now have a visual representation of how algebraic concepts link and overlap. In hindsight, I’d probably make the leaves and fruit smaller so that links are clearer.

Show me your learning trees on twitter and I’ll share them on here. @Ms_KMP

163. Traffic light trail

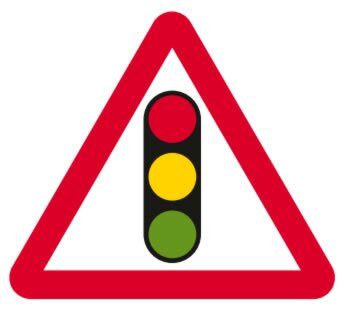
In post 104 I mentioned a rather splendid traffic light percentages trail by Whidds (Percentages shout out”). This week I decided to create my own traffic light trail.

image

How it works
Each card has three questions on it. Green is easy, amber is okay, red is challenging. Pupils write down the card number and which colour they are attempting. Pupils are free to choose the level of difficulty – however the teacher can direct them to harder/easier questions as appropriate.

My trail is about division:
Green = Division based on understanding of multiplication tables.
Amber = Short division, no remainders
Red = Same digits as amber, but with a decimal divided by an integer
Download the Division traffic light trail.

Running the activity
My cards are actually powerpoint slides. I started by showing the class the first question and explaining how to choose and answer. I printed out the question slides 2 per sheet of A4 to make roughly A5 cards.

Of course, there was a twist – I hid the cards around my room and in the corridor. A helpful (tall) sixth former had even stuck one on the ceiling for me! There was a real feeling of enthusiasm as the class searched for and answered the cards. One pupil finished the whole trail very quickly, so he was sent around again. I suggested amber questions, he went for red cards and was very successful.

You might decide to award points for level of difficulty for an additional level of competition.

At the end of the activity, I showed the final slide of the presentation: colour coded answers. They marked their own work.

Review
I was really pleased by the increased level of engagement throughout the class. And burning off some surplus energy didn’t do any harm either!

162. TMNW – Learning wall 2

This post is a progress report on the learning wall from the post 160.

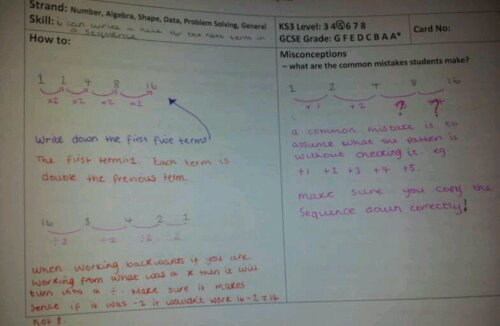
I gave Year 11s (post GCSE group) A4 templates and objectives from the Y7 scheme of work. Their job was to write a clear explanation and address common misconceptions. They were free to use any resource in the room or on the internet to help them.

Here are some examples of their work:

image

image

They would make a great wall display on their own. If you want to use this template you can download it here: Student template.

The next task is to put their explanations onto help cards. The idea is to have the explanation and a question on the front of each card and the misconceptions and worked solution on the back. I will also have the chance to correct any errors before they reach the wall.

So far, so good …

161. Marking Markers

How much time do you waste looking for where you last marked a book? If you are doing work sampling, how can you quickly get a feel for how often books are marked?

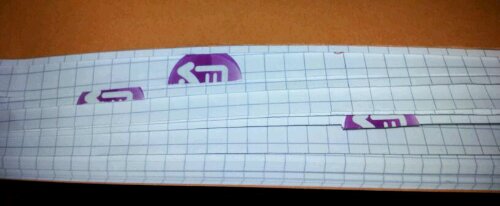
This is a genius idea that my colleagues came up with: simply wrap a sticker around the page.

image

Our stickers are a picture of a page with a tick. Some classes stick their stickers in as part of their self-assessment before the teacher marks their book.

So quick, so simple … I’m so lucky to work with such inspirational teachers!

160. TMNW 2 – Learning Wall 1

Earlier this term, my colleague, J, and myself attended the rather brilliant #TMNorthWest at Calderstones School. We were particularly inspired by the idea of independent or ‘Help yourself’ learning walls. We’ve chosen this as our Departmental focus for the year and once we have trialled it, we hope to install a learning wall in every maths room.

The basic premise is that ideas and key points are collected in themed pockets, which students can go to whenever they require assistance or a hint on how to progress. The cards are numbered and indexed. The idea was introduced by Claire Gillies in the context of English lessons.

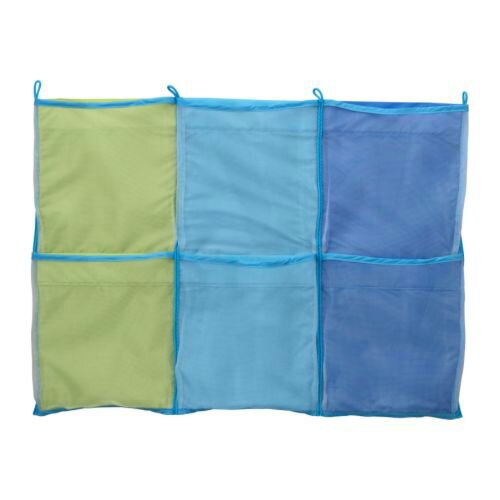
The self help cards were stored in hanging wallpockets:

image

Claire used the Kusiner wallpockets from Ikea.

There are six pockets in this particular product. We have chosen to split them into the following categories:
*Number
*Algebra
*Data
*Shape
*Using equipment
*Index

We designed our cards to have methods, misconceptions, Levels/Grades, a question with worked answer and possibly QR codes to useful videos.

Now, sitting and designing a self help card layout is easy. Completing them is a much bigger task! We have decided to start with KS3 and have selected key objectives from the Y7 scheme of work.

We also have GCSE classes who sat their exams last week and, quite frankly, need a break.

This sounds like fate …

The plan is that Year 11 students will take Y7 objectives and write self-help cards. Teachers will moderate/edit what they write.

Well, that’s our plan for a bit of independent student power. I’ll continue to post about our walls as they develop.

159. Firework Skills Fun

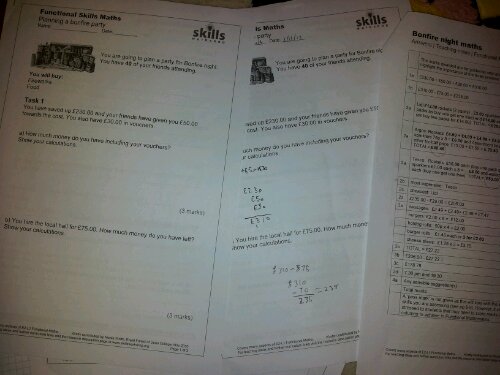
On 5th November, I stumbled across the Skills Workshop website when I was looking for a quick Guy Fawkes Night resource. I found a nice Functional Skills task on planning a Bonfire Night party.

image

My Year 10 Foundation GCSE pupils really focussed on the task and actually asked for more lessons like this.

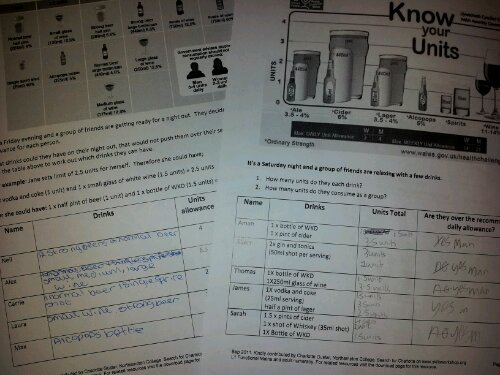
I used an activity based on units of alcohol, from this site, as an extension task.

image

We had some interesting conversations about how easy it is to exceed the daily allowances for alcohol consumption. PSCHE in a Maths lesson!

Have a browse of the website and see what you can find!

158. May I take your order, sir?

Imagine getting your class to think about a number topic in a real-life context and subsequently having students leave the lesson feeling happy they could use this skill.

About as real as the square root of minus one? Not if you relate it to breakfast*

Image credit: ifood.tv

I wanted to make estimation more relevant for my class, a low ability Year 10. Outside my classroom I put a breakfast menu and my associate teacher took their orders** as they entered the classroom. I had put mini whiteboards on tables and I instructed the class to work out an estimate and the accurate total for their menu choice(s). The lesson had barely begun and the class were already talking about what they were doing (rather than Halloween antics the night before)!

Once everyone had arrived and settled down, I asked if anyone had underestimated and what this would mean – not enough money and doing the washing up!

I then asked each table how much their group order would cost. Would their overestimates cancel out their underestimates? Would the waiter get a tip? Meanwhile the associate teacher had added up the orders, so we could quickly check their calculations.

What if everyone paid £10? Would you have enough? How much tip would you be leaving? Would it cover a 10% service charge?

We followed up this task with some standard estimating questions.

Image credit: www.fudds.ca

The menus I used for the lesson are from a restaurant chain in California. The useful thing is there are no units of currency, so this works for different countries. It will work equally well with KS2 and KS3 pupils.

Download resource: Breakfast estimation (pdf)

BTW The students decided if the waiter wanted a tip, he should actually feed them first!

*Strongly suggest you use this before students have break or lunch time, or else they’ll be drooling in their next lesson.

**Unless you are providing food, please add the disclaimer that you are not feeding them.