This neat little activity combines nets of cubes with non-calculator percentages. It doesn’t necessarily replace teaching basic percentages, but it is a good starting point.
Objectives
- To understand the link between different percentages.
- To construct a cube, using a 2D net.
- To calculate percentages.
Equipment
Pre-printed nets of cubes on card
Scissors
Glue
Felt-tip pens
Task 1
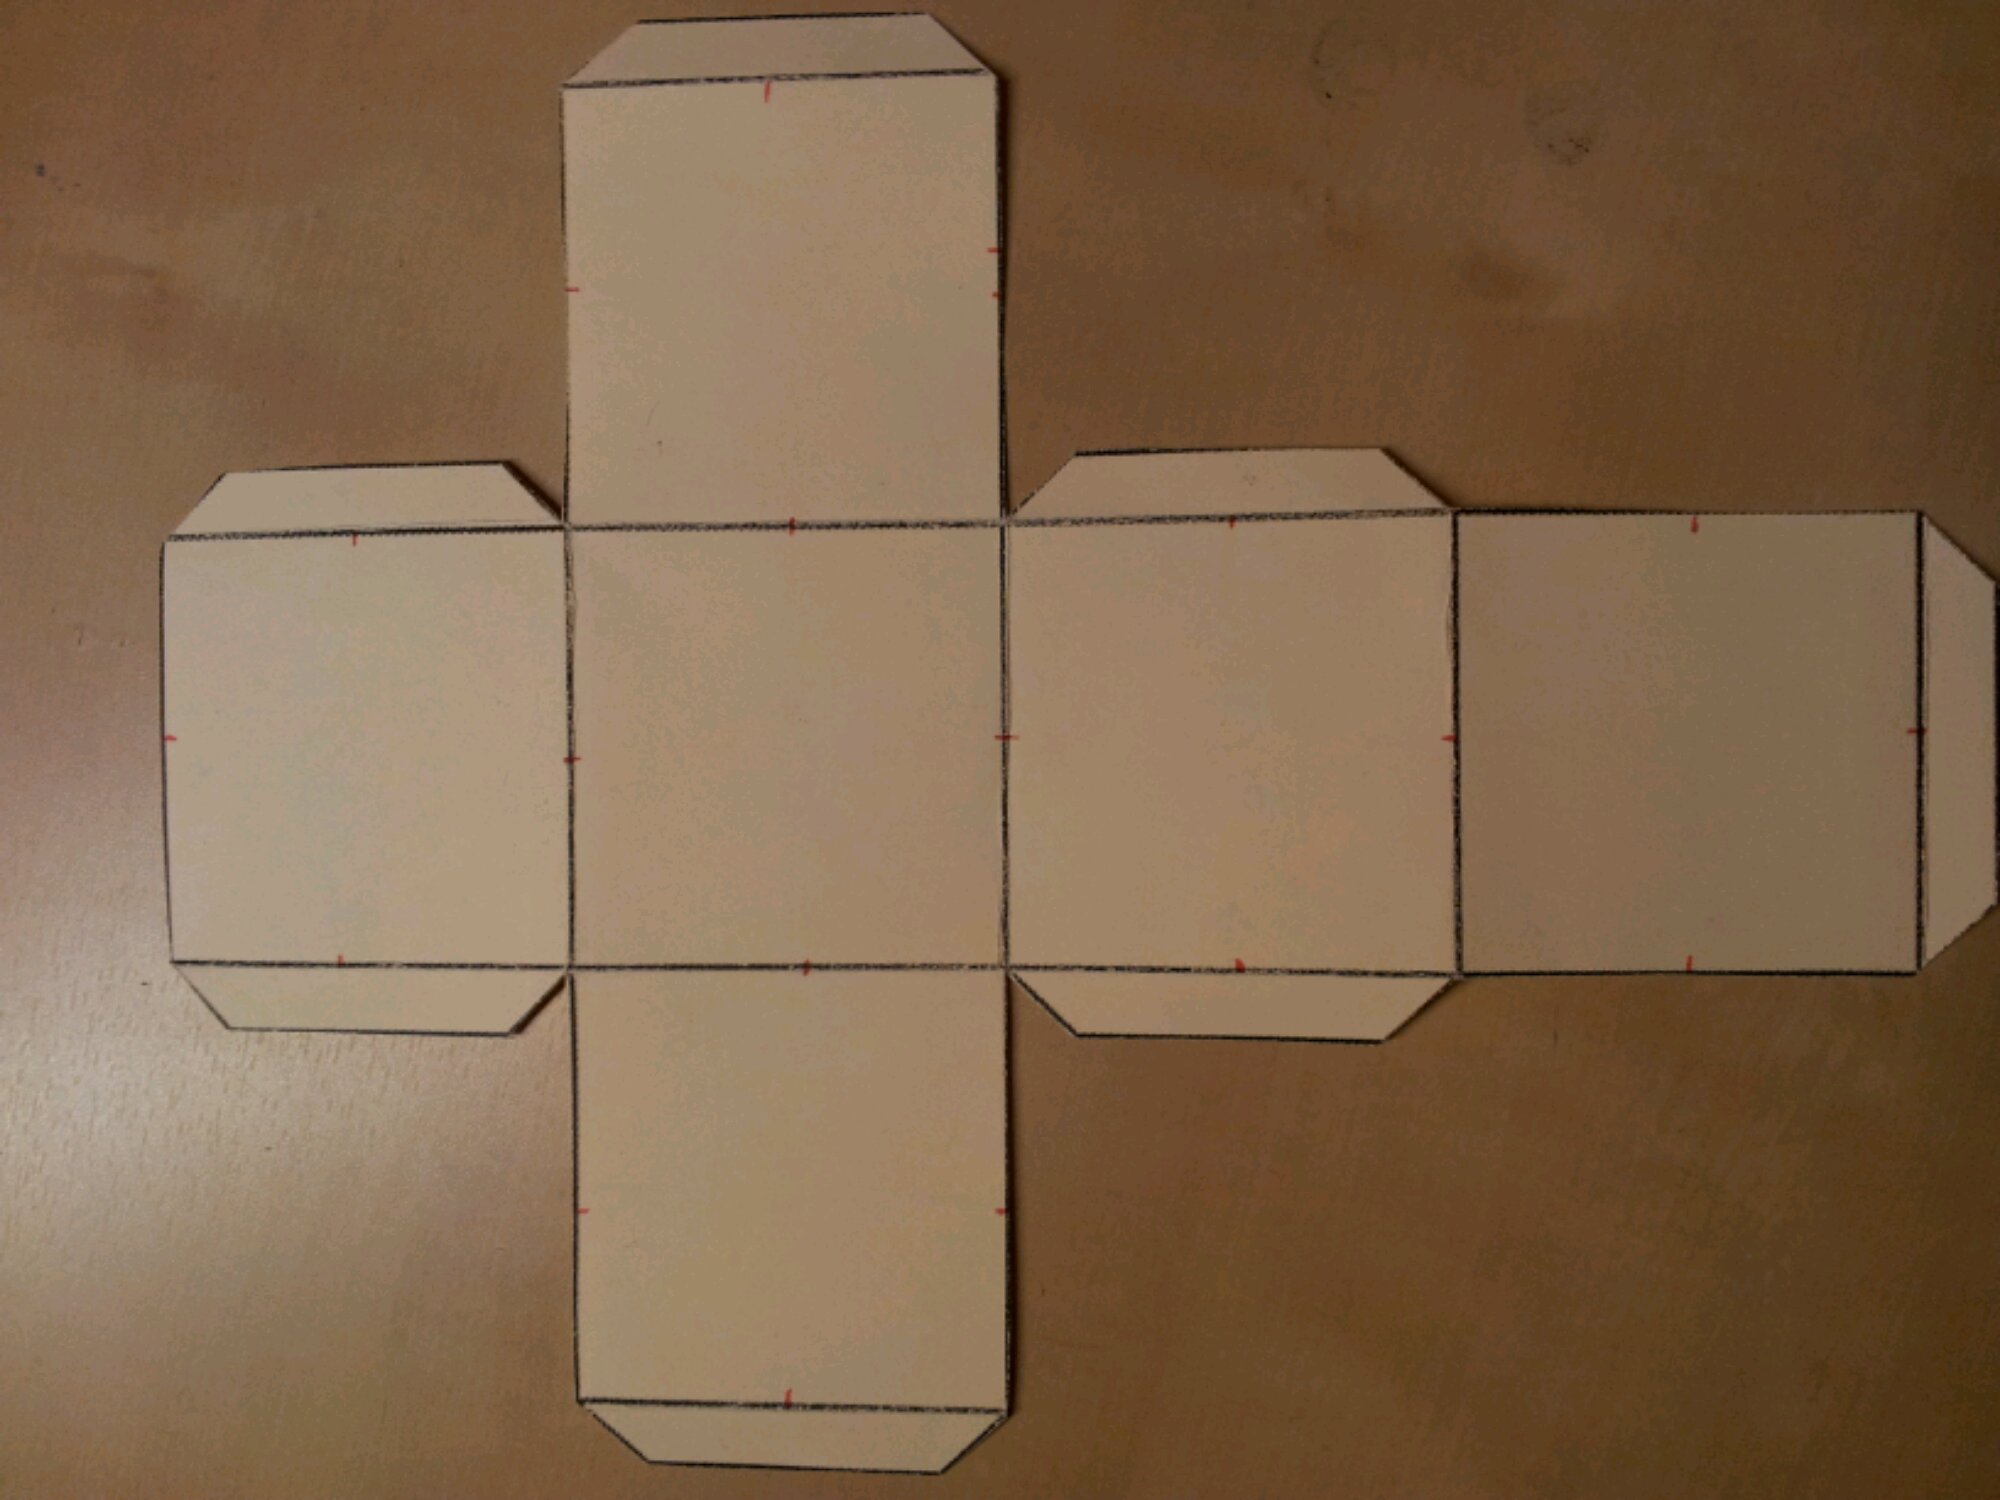
Cut out the net of the cube and mark the midpoint of each edge, ensuring matching points on the joins.
The matching points are important later on. Fold in both directions along each line.
Task 2
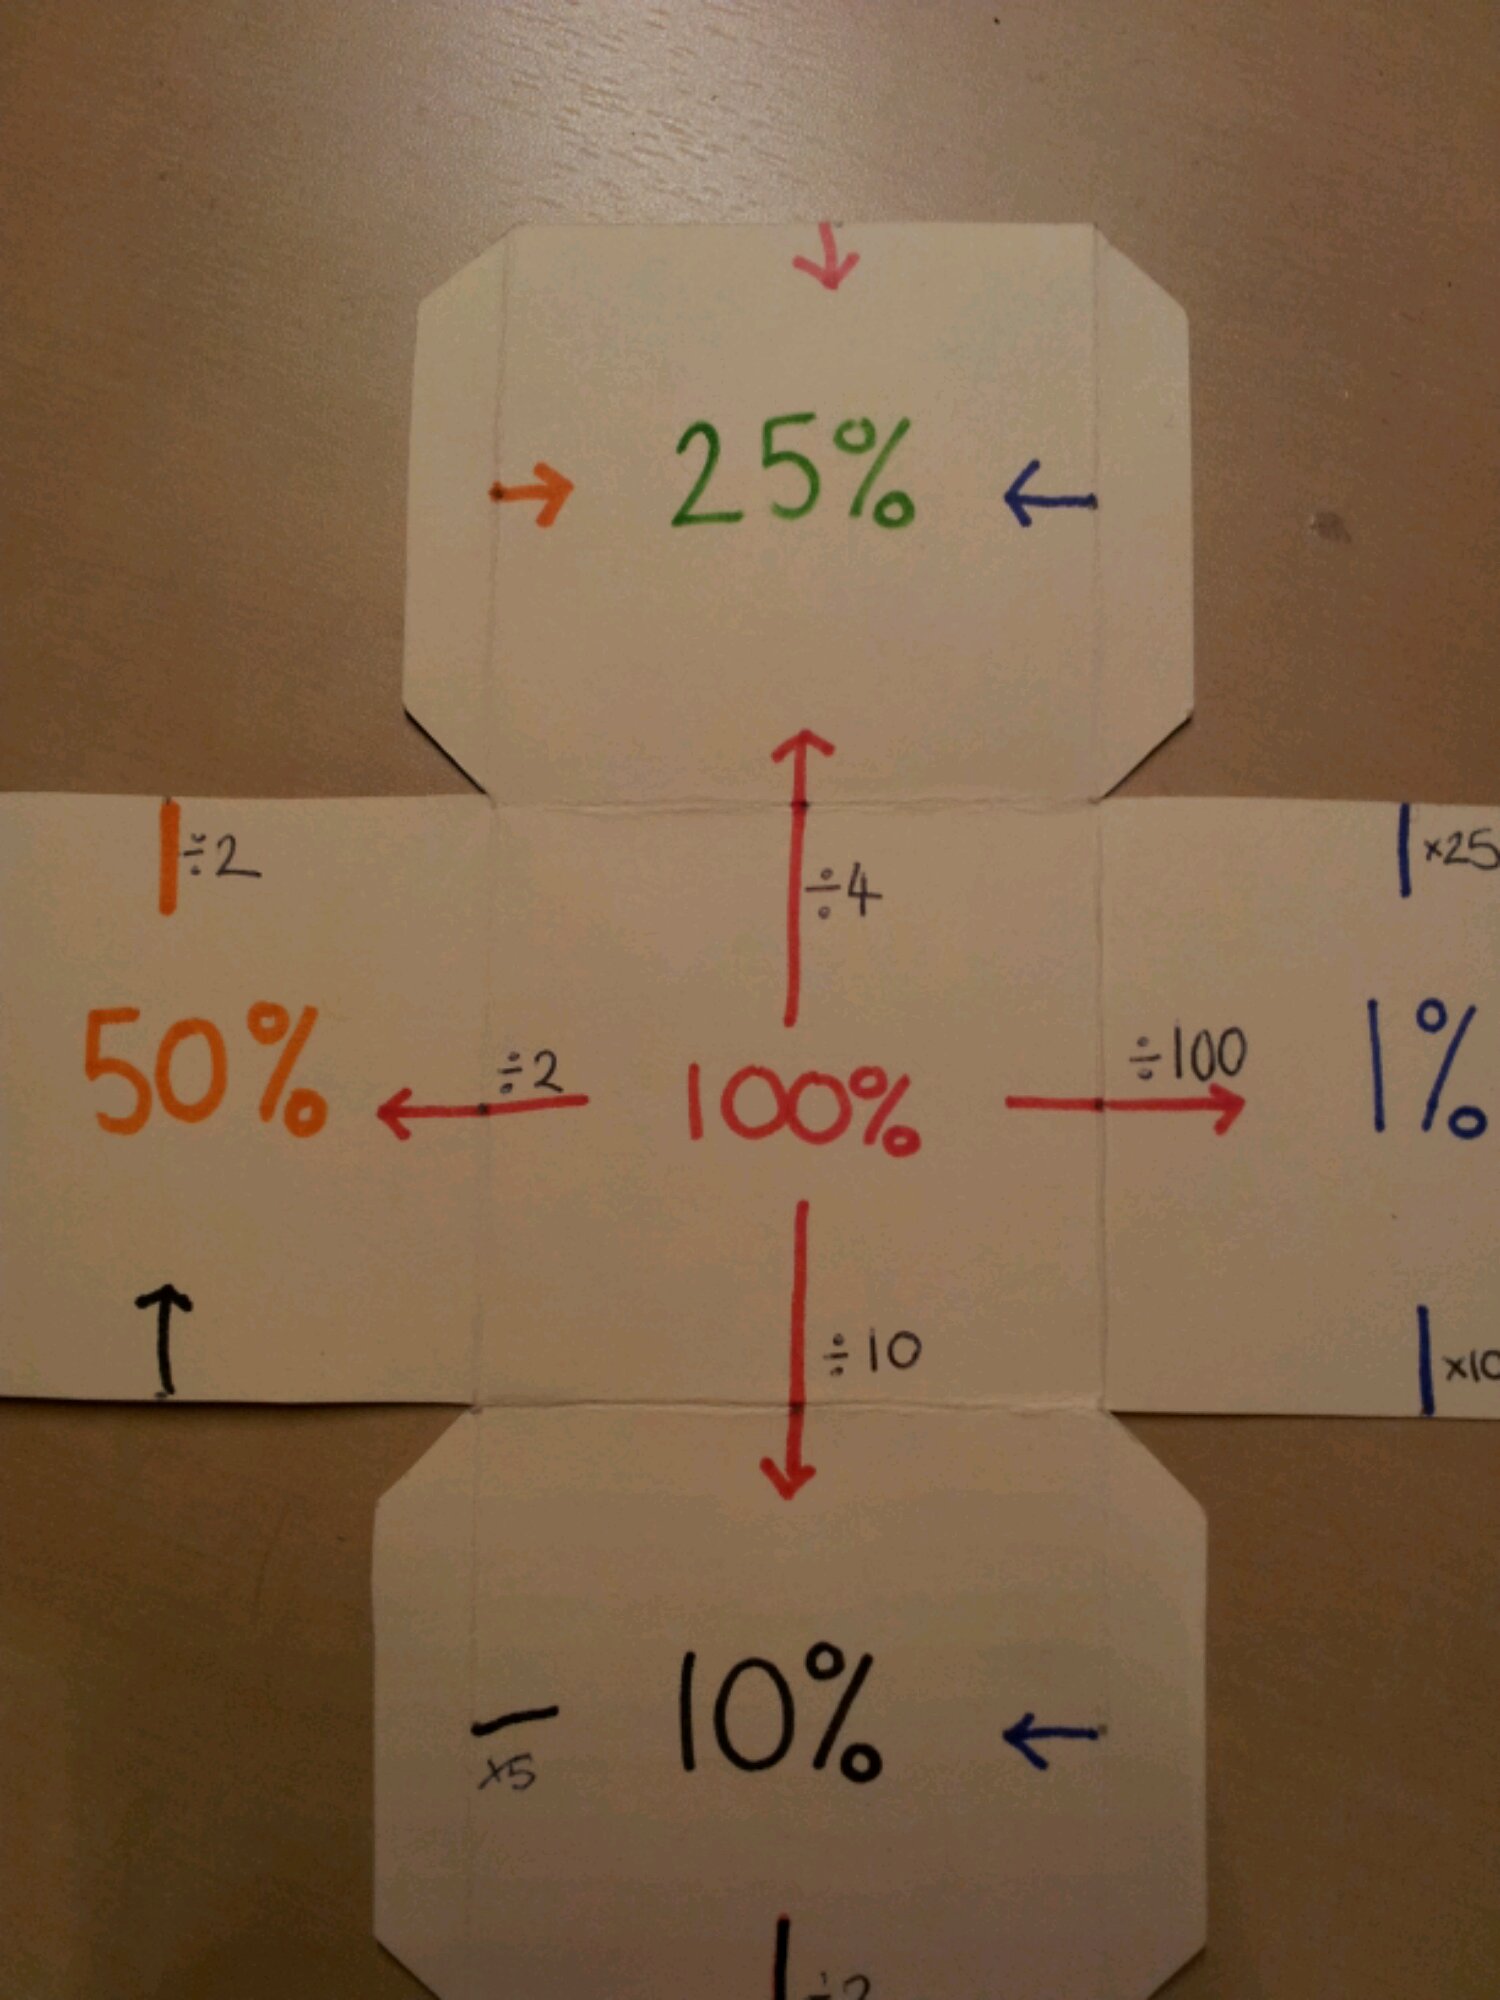
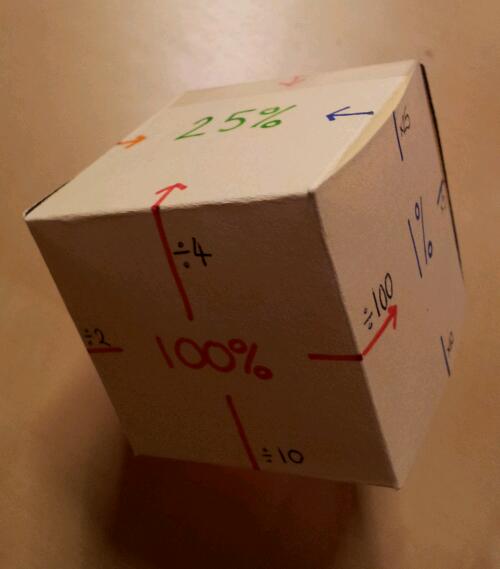
Label the middle square 100%.
Draw horizontal and vertical arrows going away from it with divide by 2, 4, 10 & 100. What percentages should go on these squares?
You will notice the arrows go through the midpoints.
Task 3
After your class have identified the squares as 50%, 25%, 10% & 1%, ask your class how these are linked.
This bit wowed my class.
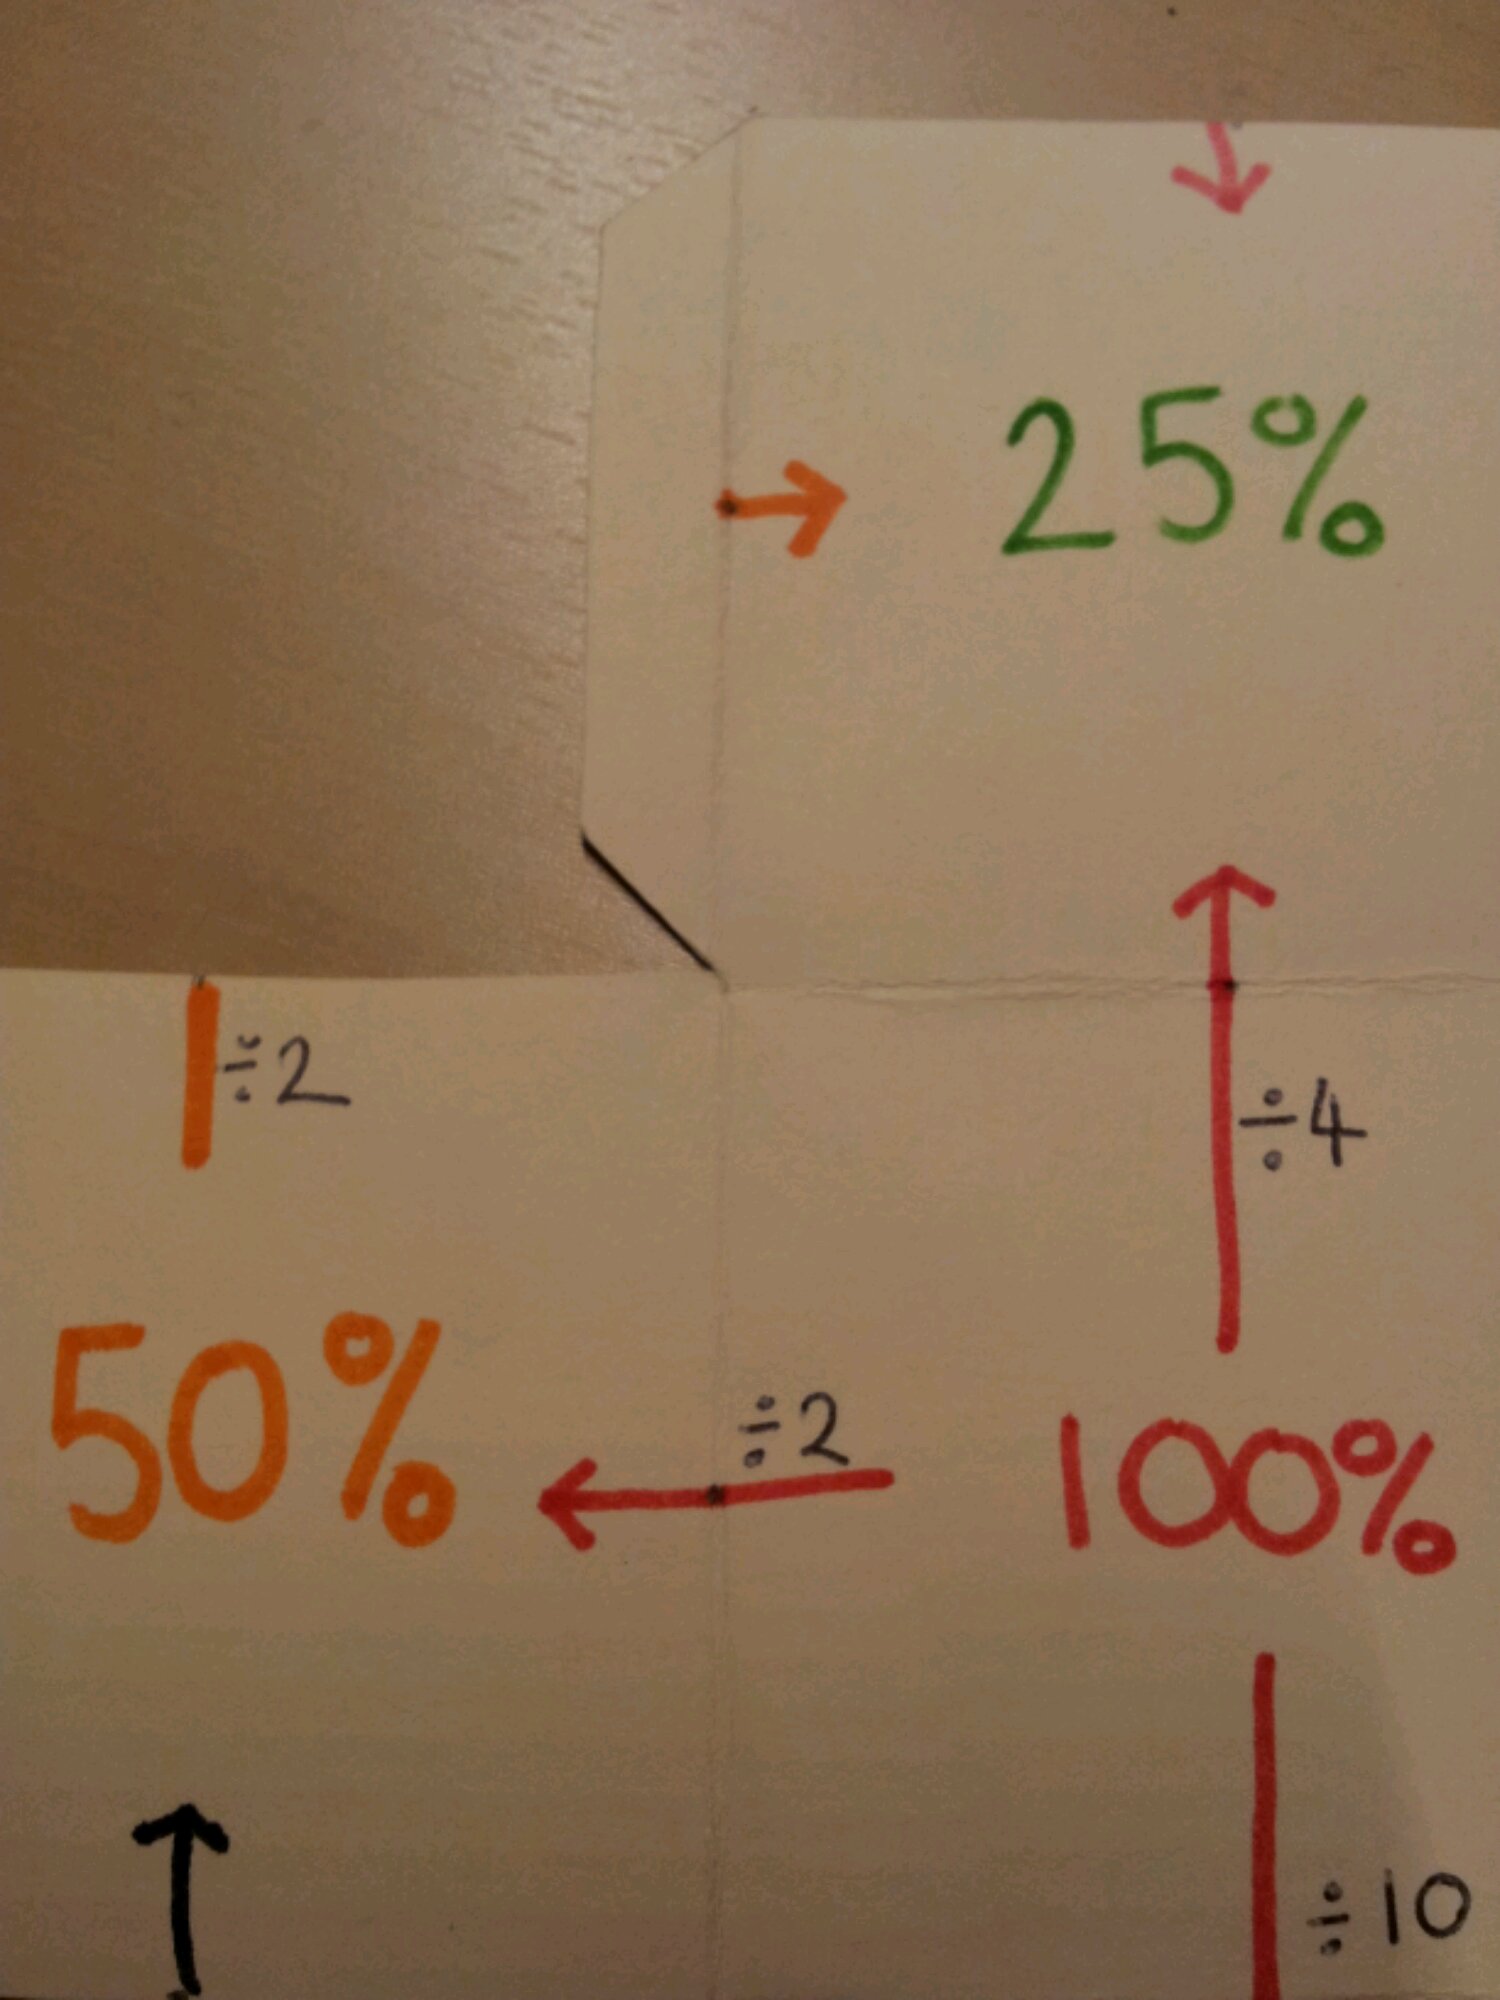
Draw a vertical line up from 50%.
Label it divide by 2.
Draw an arrow coming in from the left of the 25%.
What happens if you fold the cube up?
The arrow joins up! This is why you need the midpoints.
Task 4
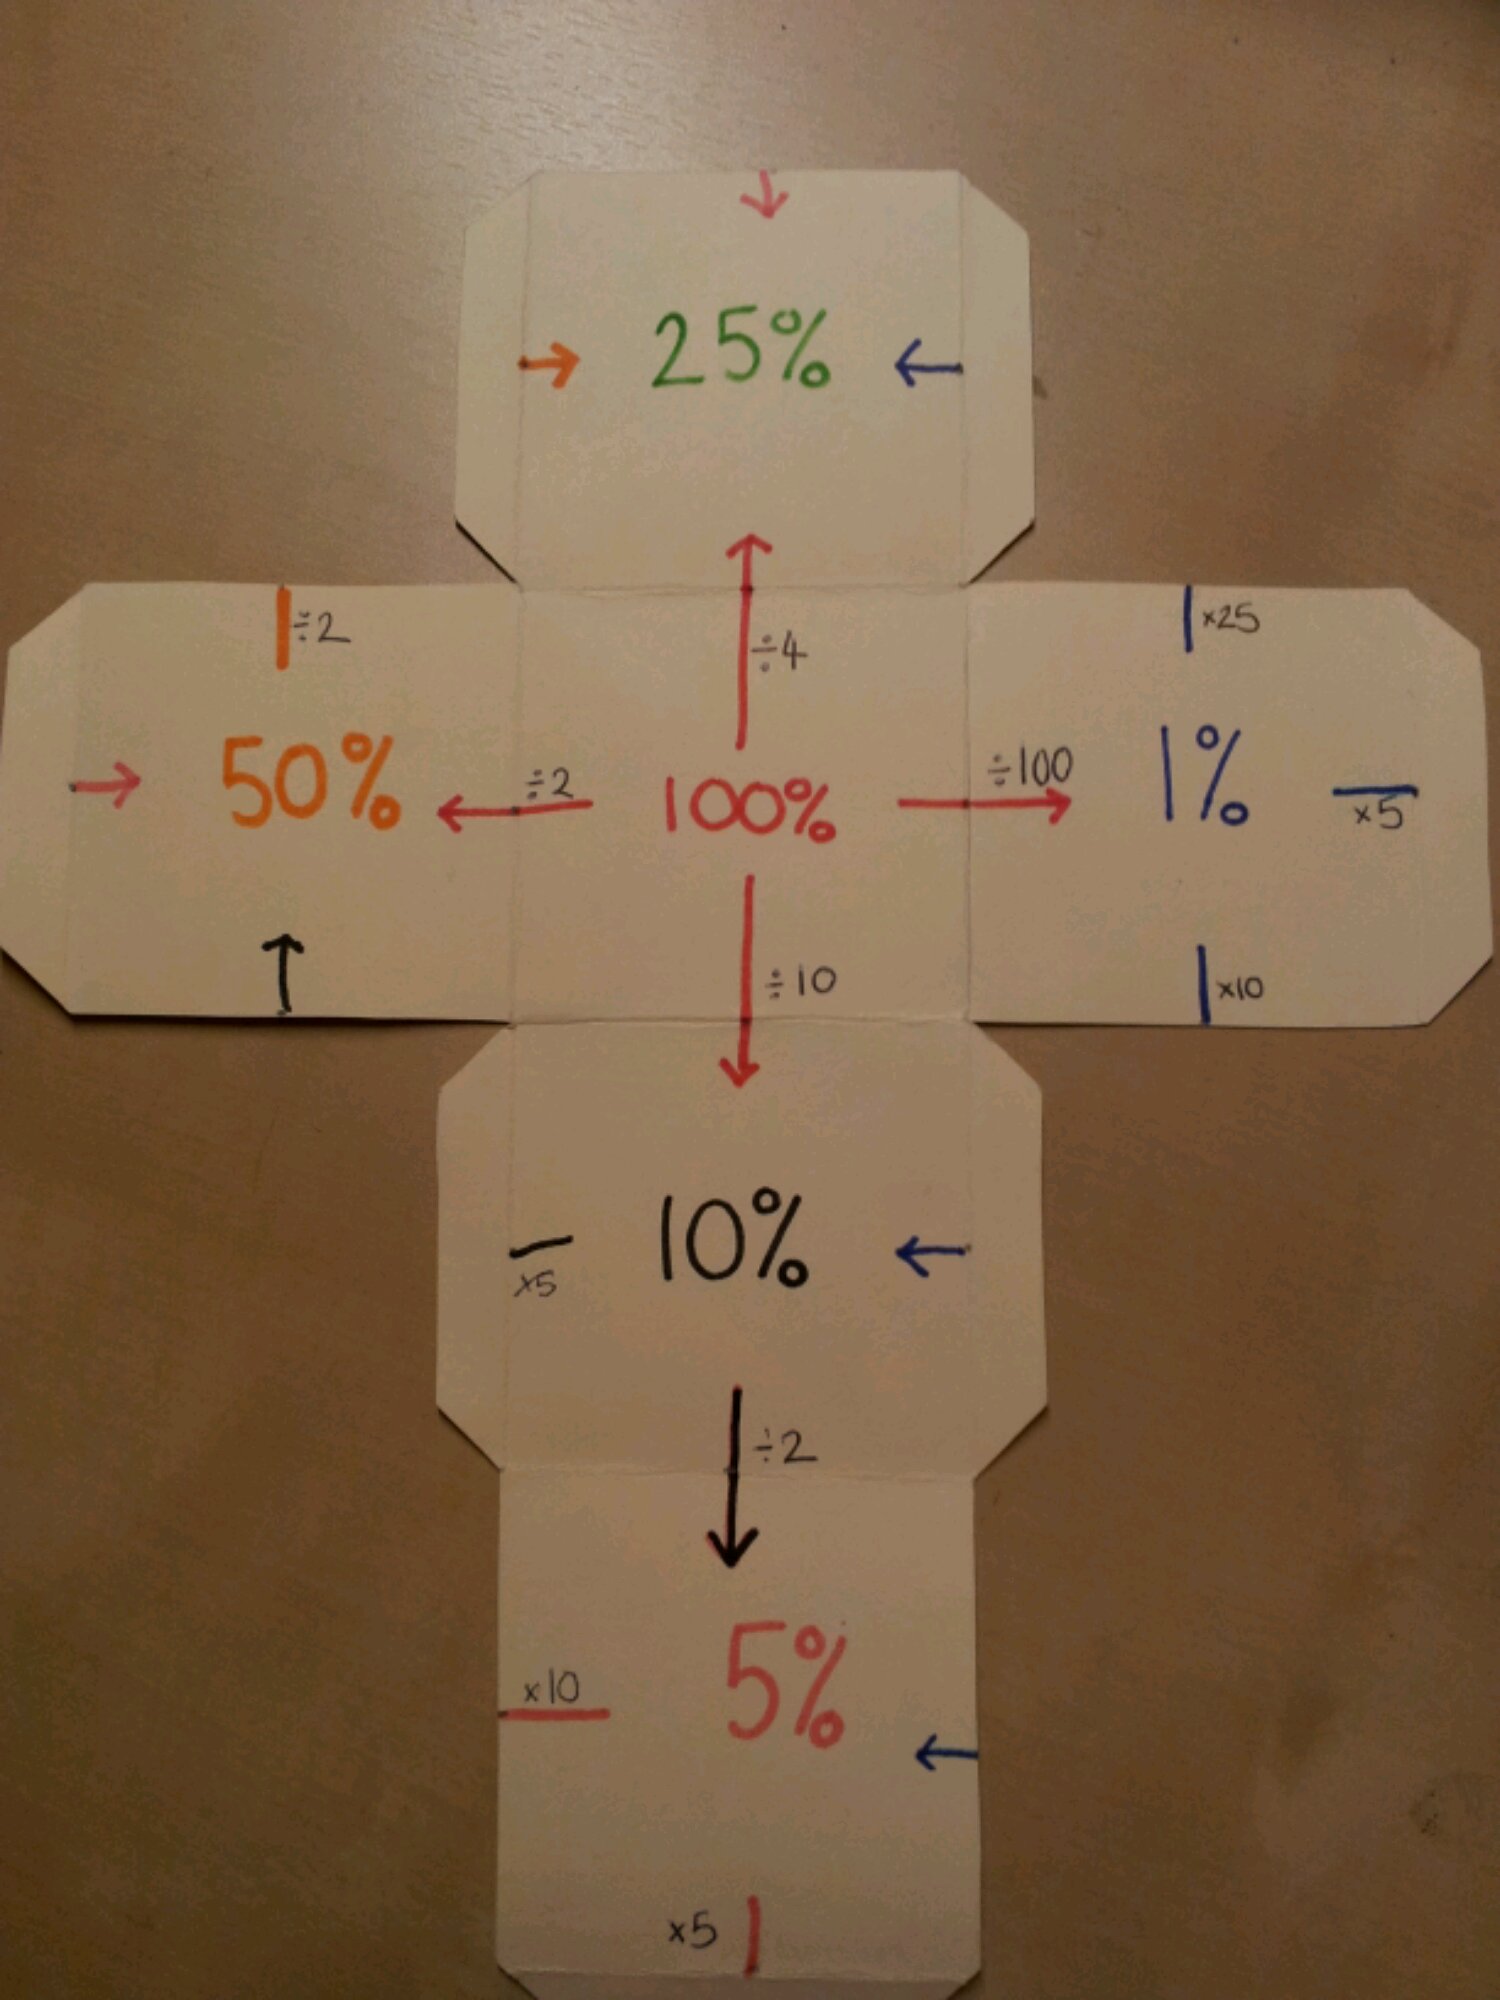
Ask your class to complete the labels linking the other percentages.
Task 5
You should have one empty square. Label this 5%.
Ask your pupils to complete their arrows. They can be completed with divide or multiply.
You will notice that mine is colour coded, based on the original percentage in each calculation.
Task 6
Glue the 5% square flap to the 25% square. This allows you to temporarily tuck in the other flaps, whilst allowing the cube to be folded flat to go in a book.
Task 7
Give pupils a starting number eg 360. This represents 100%.
By following the arrows on the cube, they can work out all these percentages quickly and efficiently.


Pingback: 7 Days of Maths: MathsSandpit.co.uk #7 | Solve My Maths